MY CORLISS
ENGINE BUILD
Part 24 by Vince Cutajar



MY CORLISS
ENGINE BUILD
Part 24 by Vince Cutajar


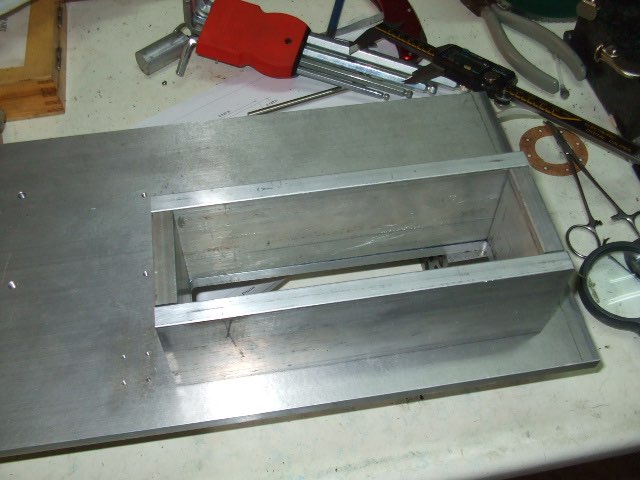
I decided to make a flywheel well, so I machined some aluminium flat bar to size.
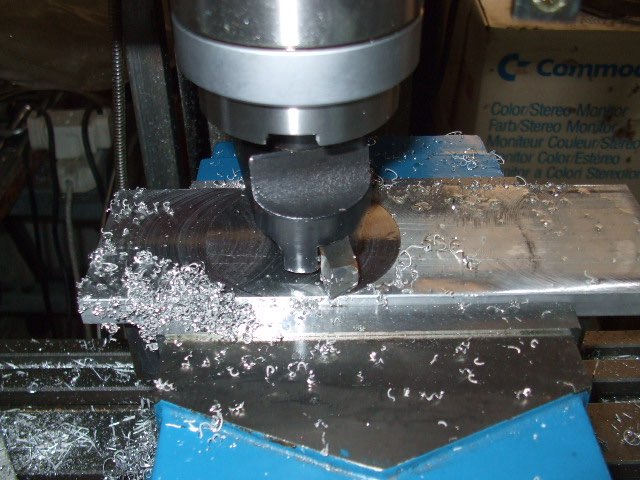
Skimmed the inside faces with a flycutter.
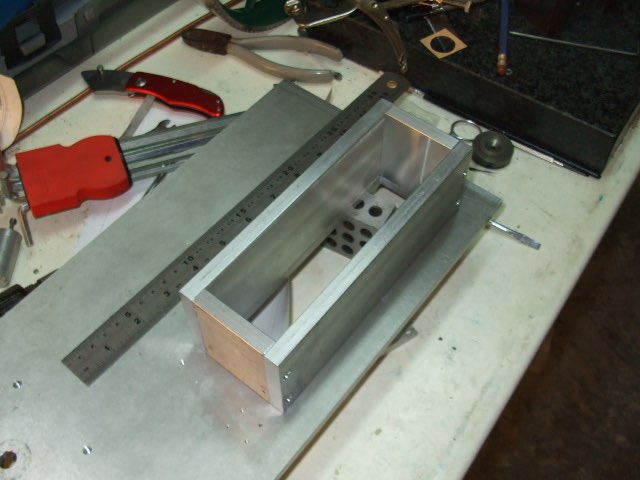
Drilled and tapped and bolted it together.
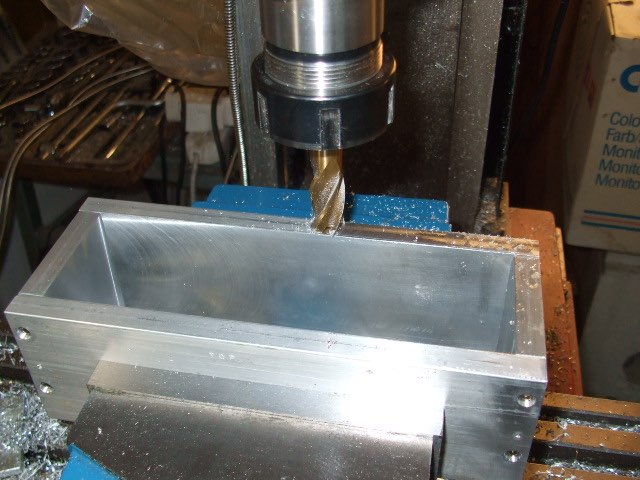
Skimmed the top to make it flat.
I fixed the flywheel well to the base using 60mm 3mm bolts.
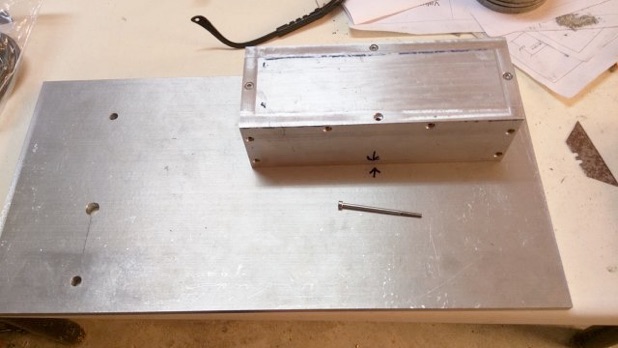
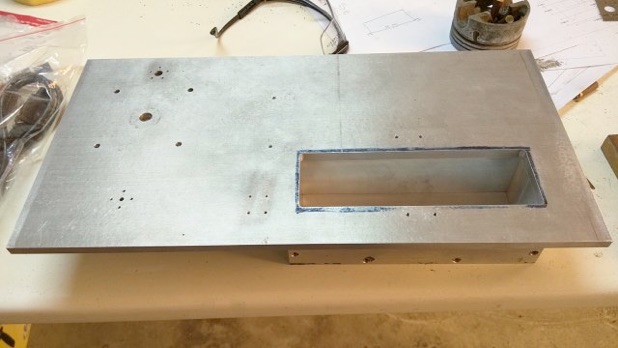
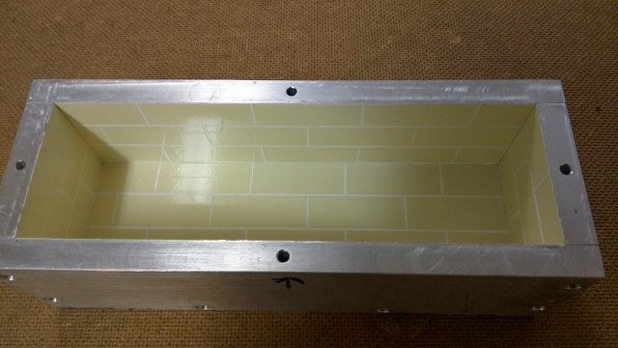
For painting the flywheel well, I wanted to give it a local touch by simulating limestone slabs. It was a laborious process but I think that the experiment worked out.
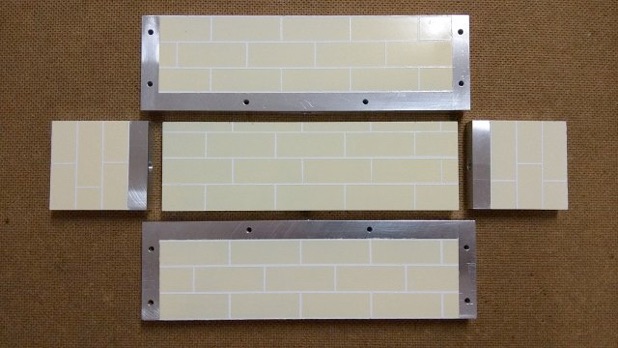
Flywheel well assembled.
I acquired some ready-made brass stanchions and came across a cheap source of brass railing material in the form of 1.5mm brass brazing rods in 1 metre lengths. So first I made a jig as I need two bends in the railings. It is made from aluminium bar and two 6mm hardened dowels.
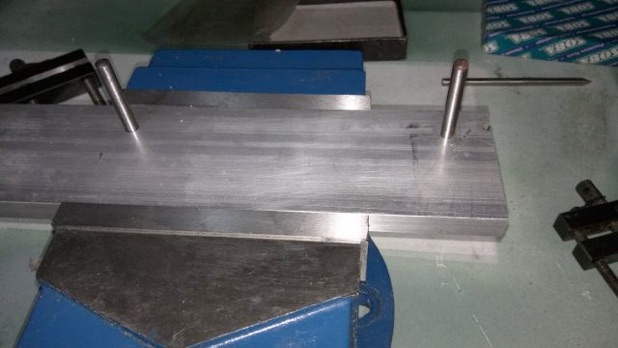
Next I experimented with how feasible it is to bend the rod around the dowel pin. I tried it with the rod annealed but was not happy with the outcome. I got better results with the untreated rod.
Did the first bend and the photo below shows preparation before the second bend.
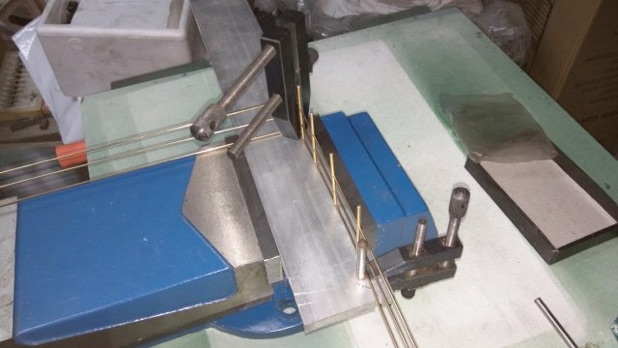
And here it is finished.
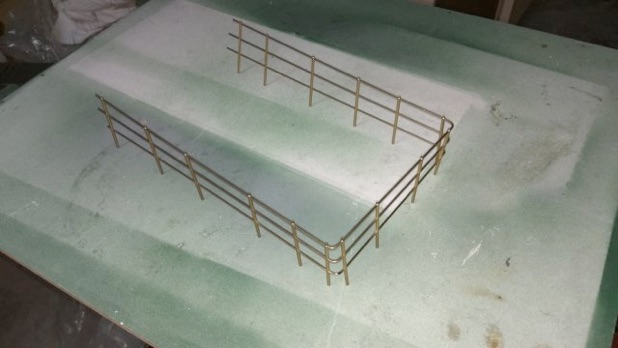
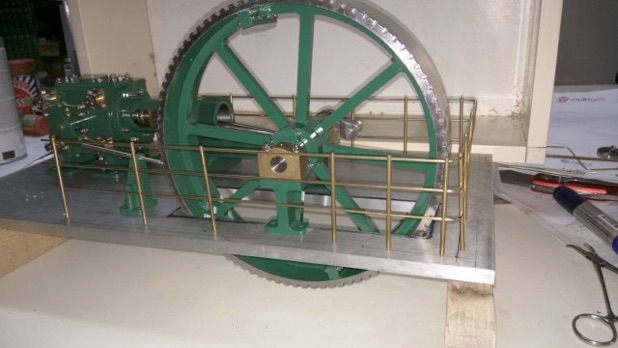
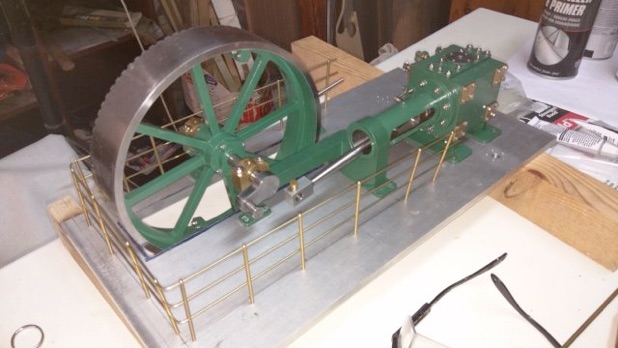
I did not use soft solder to fix the railings to the stanchions. I was afraid that the solder would flow everywhere, except where I wanted it, and making a mess. Instead, I used superglue. Using a toothpick and a loupe I could put a small amount of glue exactly where I wanted it.
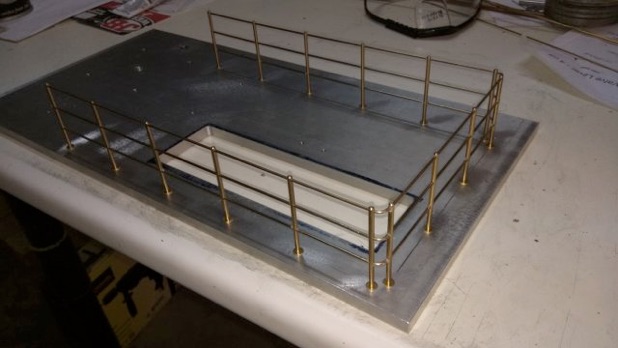
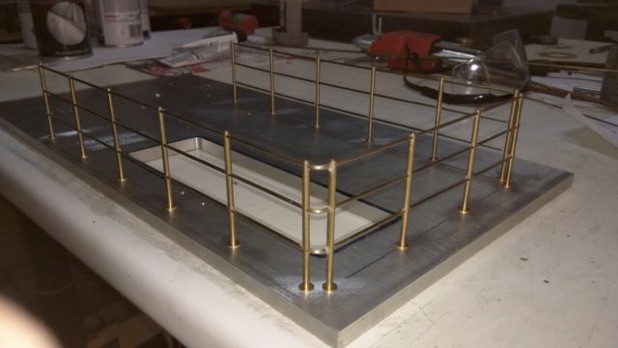
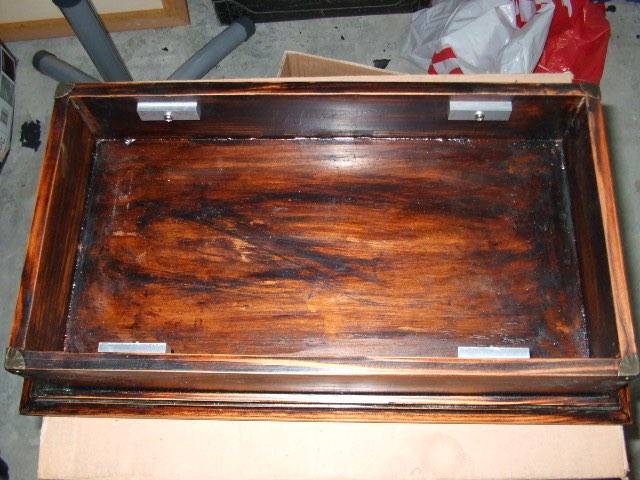
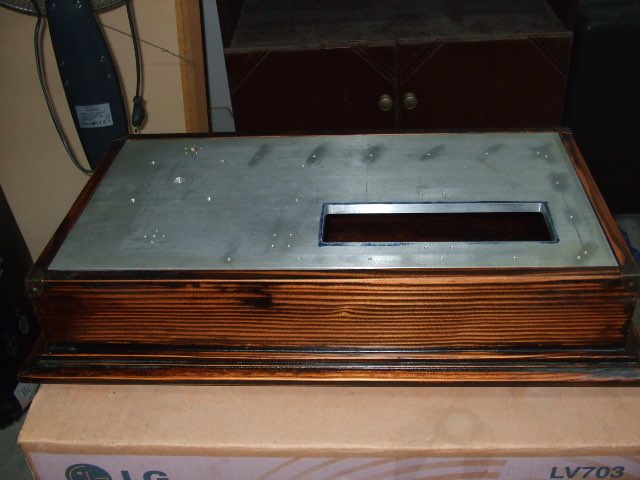
I found a kind Samaritan to make the wooden base for me. Fitted supports for the engine base.






Modelengineeringwebsite.com
the only free and the only weekly magazine for model engineers.
Editor: David Carpenter