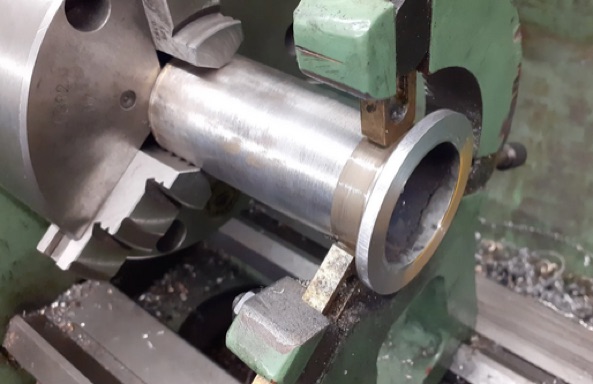
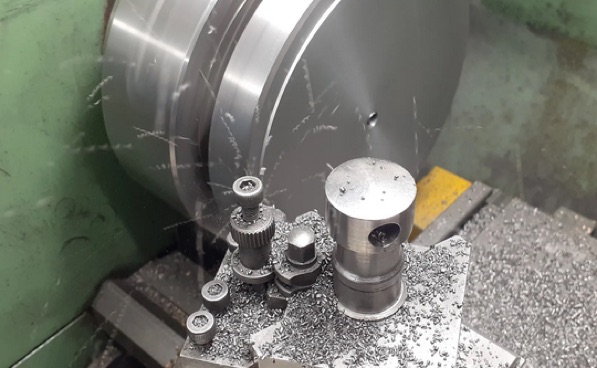
The hot cap started life as a short length of stainless steel exhaust pipe which can be had in many different sizes on Ebay. A disc of stainless sheet was Sif brazed to the bottom and a steel ring silver soldered to the top to form the mounting flange. After soldering the flange was skimmed down to final thickness ensuring its face was then true to the axis of the tube.
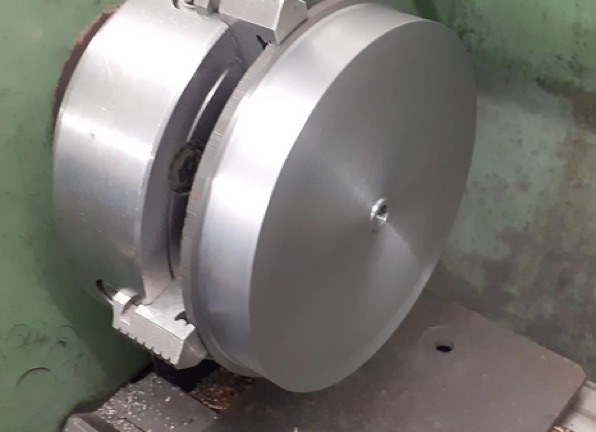
The flywheel was machined from a slice of 140mm diameter cast iron, here the first side has been faced, the OD finished, and the hole bored for the crankshaft.
It was then reversed in the chuck, set to run true and brought down to final thickness.
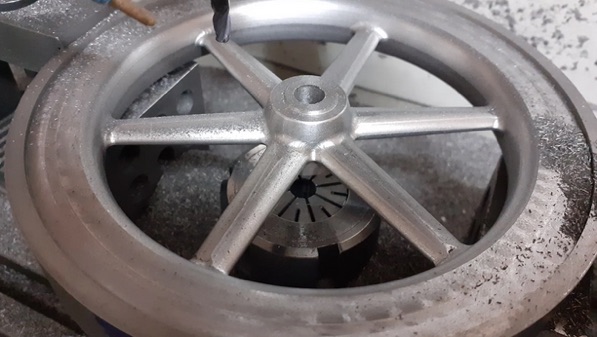
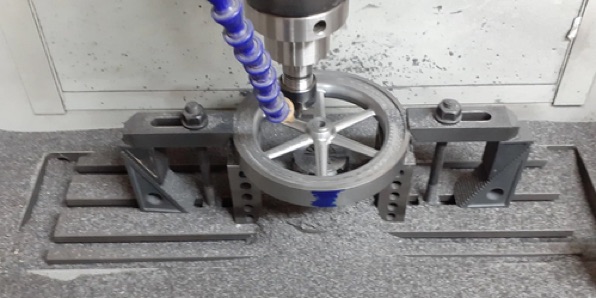
It was then over to the CNC to give it a bit of shape. I've done quite a few flywheels now and the method I have found to work the best is to mount the ER32 Collet with backplate onto the table and hold a piece of suitably sized drill rod in that which keeps the location of the centre of the flywheel. I can then mill one side and flip it over to do the other and only need ensure that the rim of the flywheel lines up to a mark to index the rotation.
The flywheel is packed up on a couple of 1-2-3 blocks and clamped down. I use the clamps the opposite way round which reduces the height they stand up above the flywheel which means I can run shorter tool stick out with out risking the collet chuck hitting a clamp.
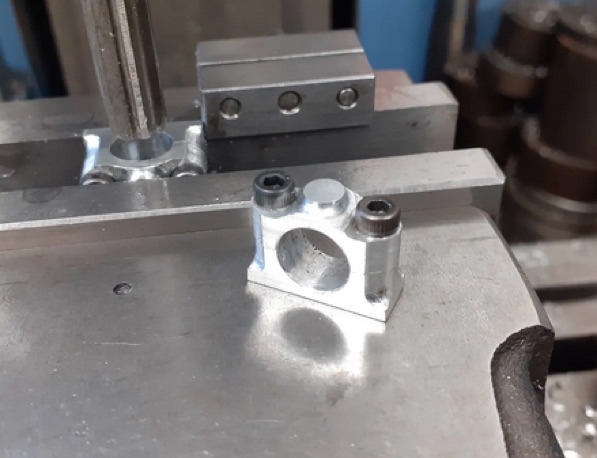
While I was at the CNC I machined the bearing pedestal tops and bottoms from aluminium Then screwed them together to drill and ream the holes on the manual mill.
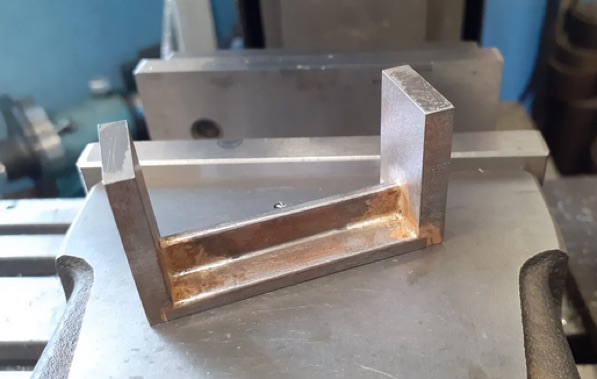
The bracket that the beam pivots on is a U-shape which I fabricated by milling the inverted T-section and then silver soldering to the two end pieces.
The holes for the bronze bearings could then be drilled and reamed, the vertical ends shaped and a notch milled out to clear the flywheel.
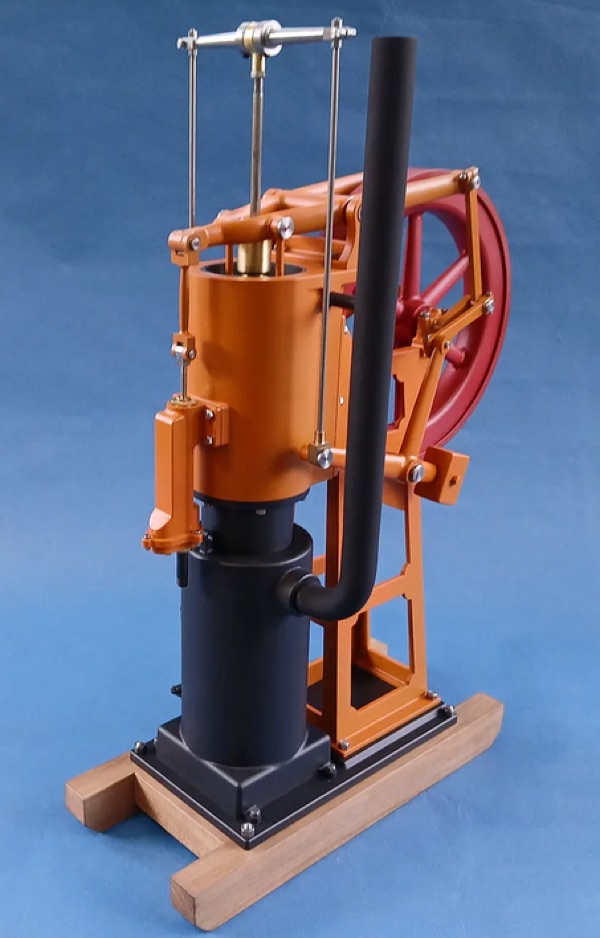
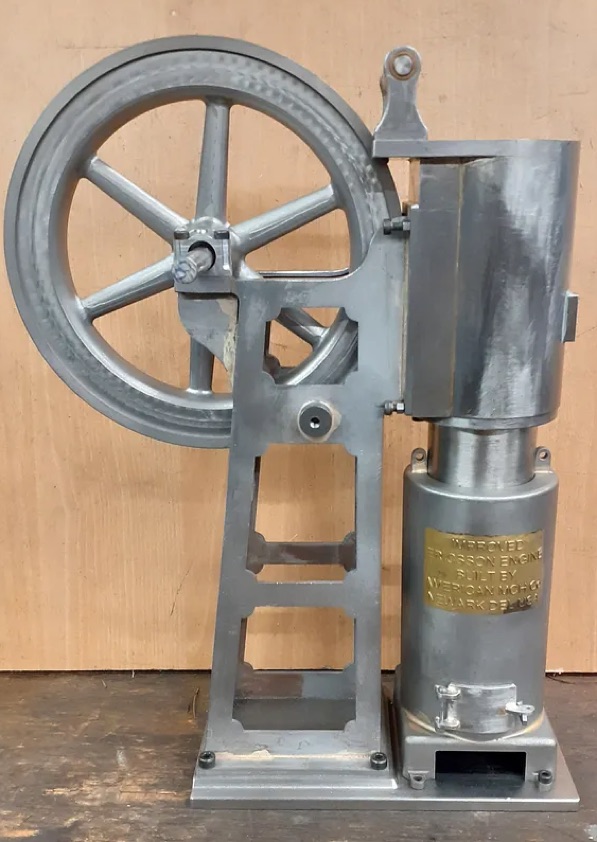
A quick trial assembly to see how it looks so far. Part six will be all those links and levers.
Part 1 here part 2 here part 3 here Part 4 here Part 5 Part 6