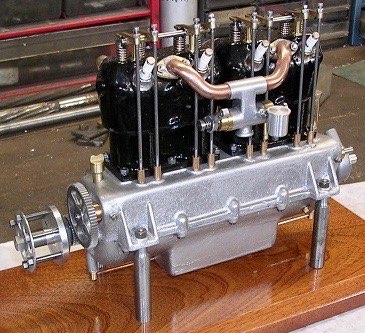
1909 MERCEDES AERO ENGINE BUILD

Part two by Steve Gosling



Continued from part one - here


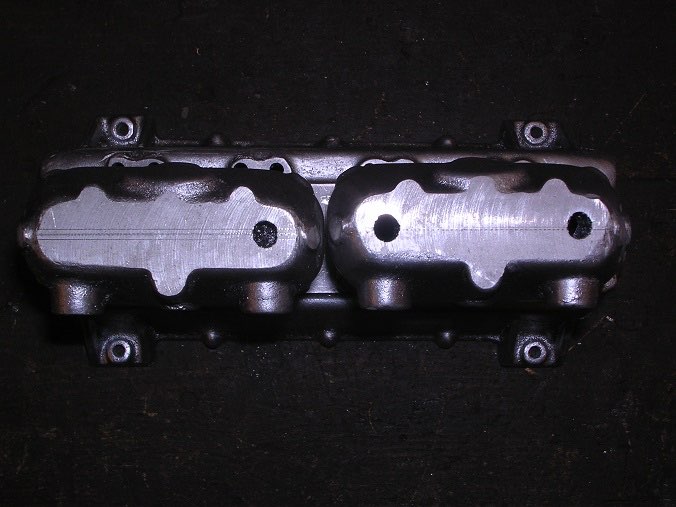
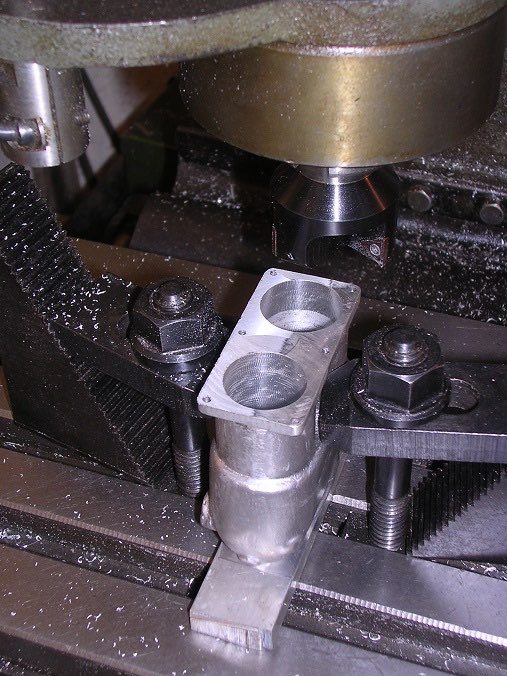
... One core was slightly off-set so the casting only just had enough metal to clean. What I didn't realize until later was that I hadn't quite got the casting upright when I skimmed the top and, of course, this compounded the core problem. To clean up properly, I bored it oversize by 1.5mm and had to make a thick liner.
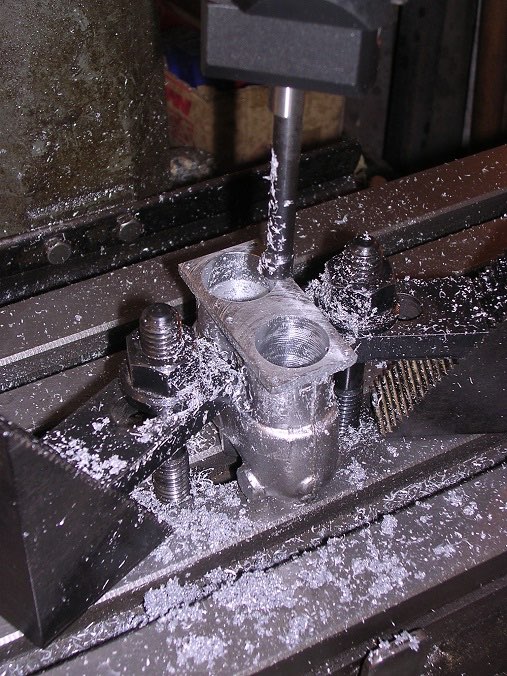
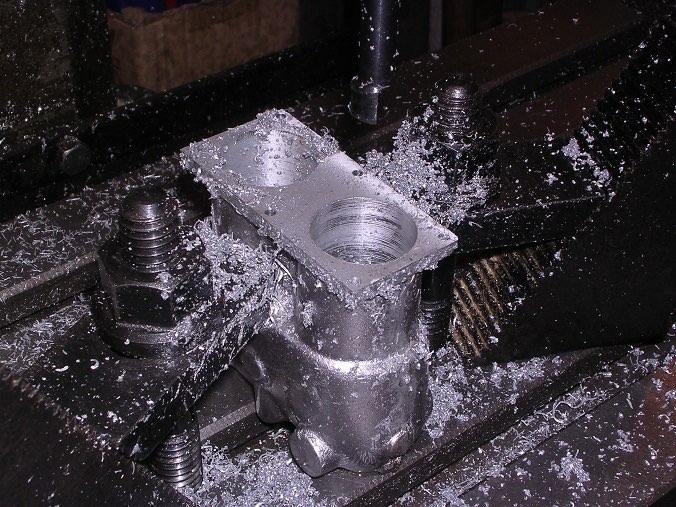
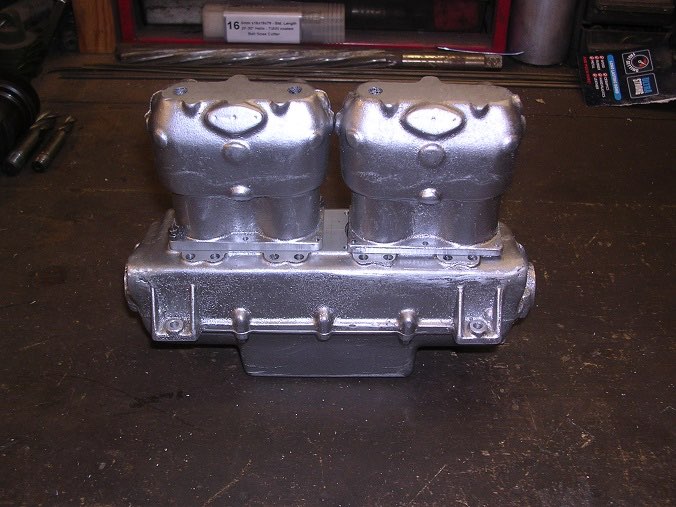
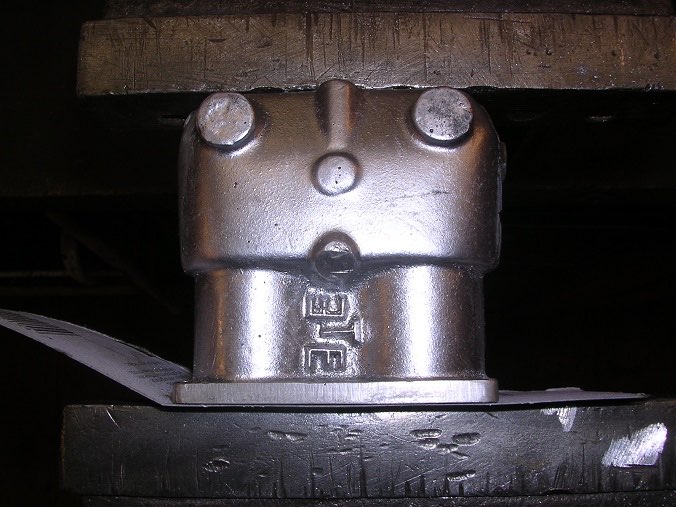
Then the next googly. The dummy core-plug bosses fouled so that I couldn't put the blocks close enough to bolt them both down.
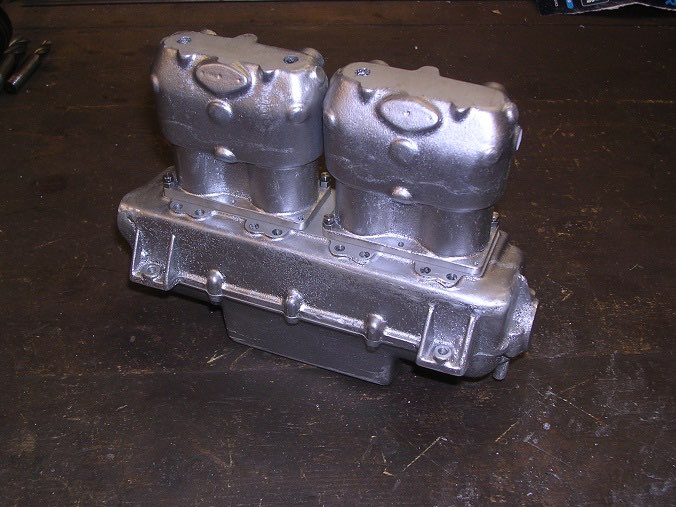
These were removed and I polished the ends with a needle file so that you wouldn't know they were missing.
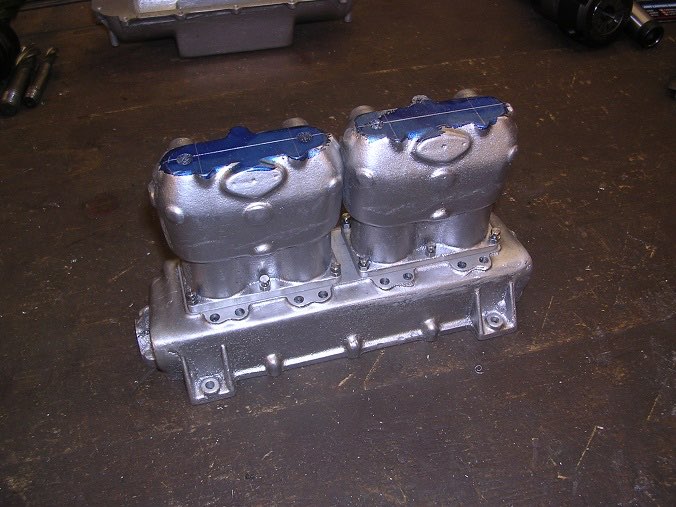
Well, it was beginning to look like an engine, anyway!
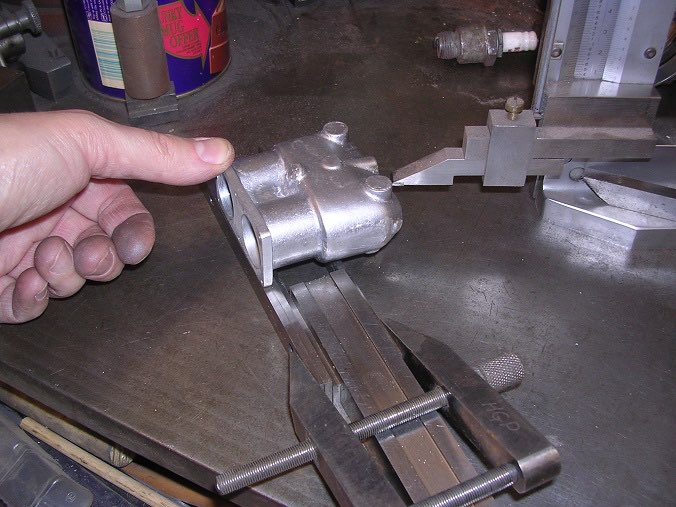
The centres of the blocks need to be in line so that the rocker shaft lines up across the tops. First job was to find a centre line. This was another puzzle due to the difficult shape. However, With the base flange on one parallel and a second underneath a clean part of the water jacket, I scribed an approximate centre line before turning the block over and repeating from the other side giving me two lines quite close together.
At least I could see the problem. One block lies 1.3mm out of line with the other.
While I pondered what to do about it, I removed the pattern marks.
Five minutes with the Dremel and that is something else ticked off.

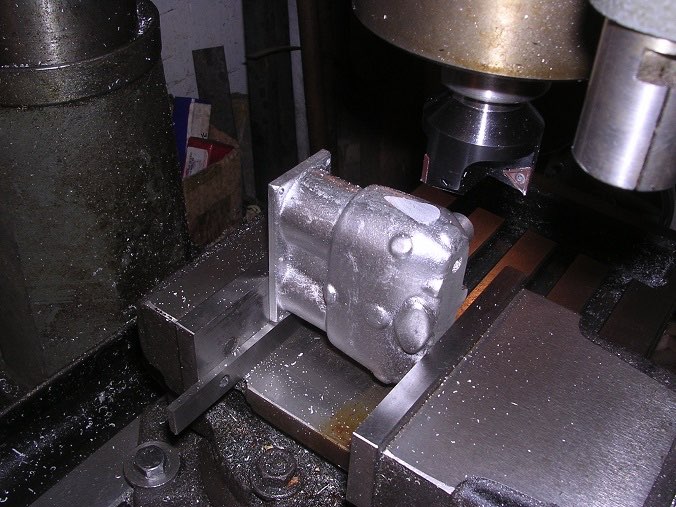
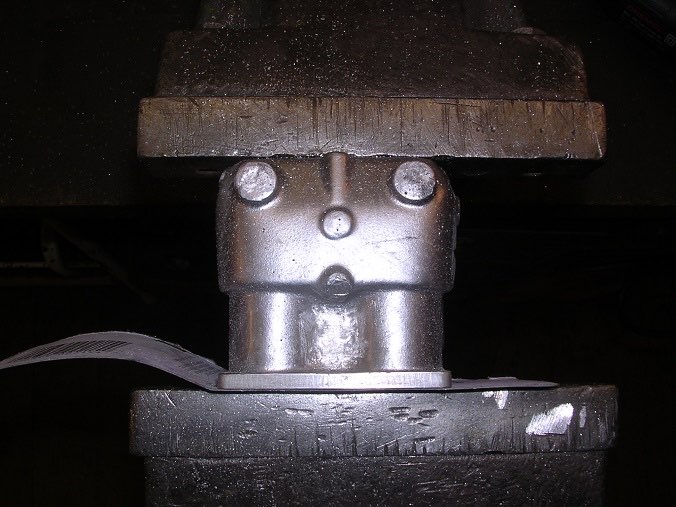
To bring the blocks into line I took a piece out of the drawer and machined a run across it using some shim stock under the edge.
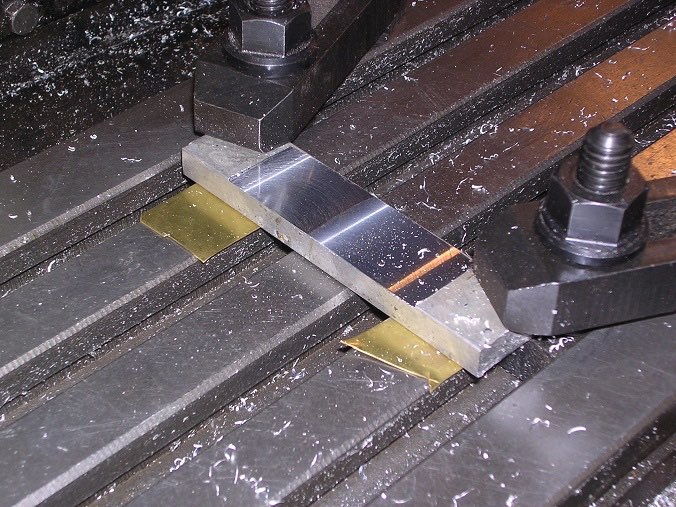
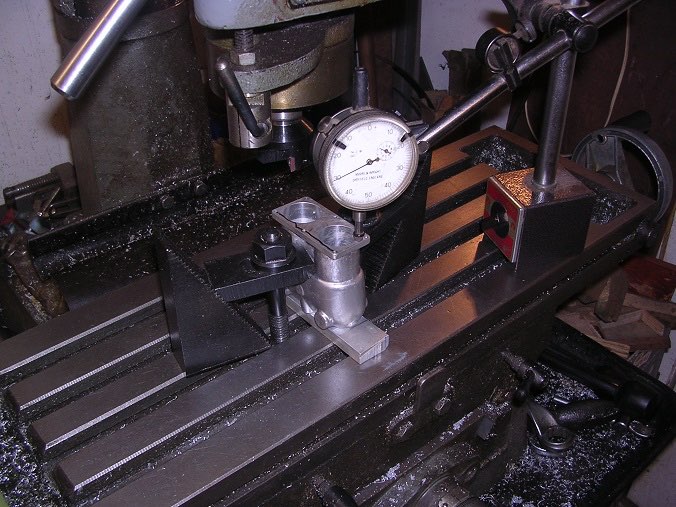
Then set it up and checked with the DTI to make sure it was right.
After that, it was quite simple.
Success!


More next time...

 
https://www.sarikhobbies.com/model-engineer-builder/

Modelengineeringwebsite.com

the only free and the only weekly magazine for model engineers. 

Editor: David Carpenter