Part three here
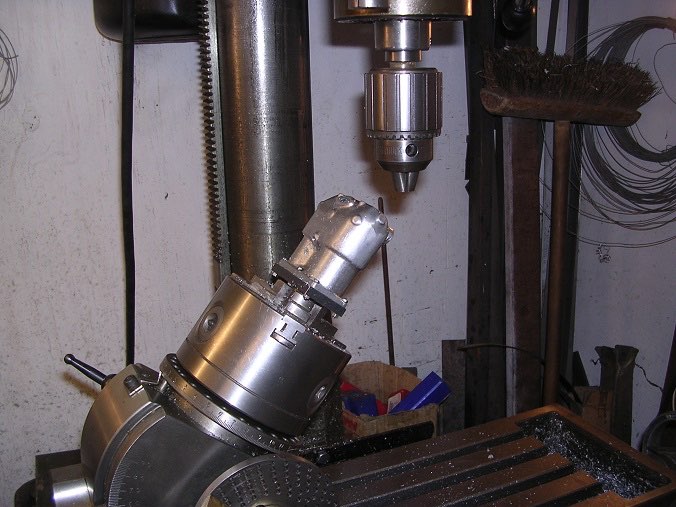
The spark plug angles are shown on the drawing and looked okay so I tried setting the dividing head to the appropriate angle. Unfortunately, I hit a snag.
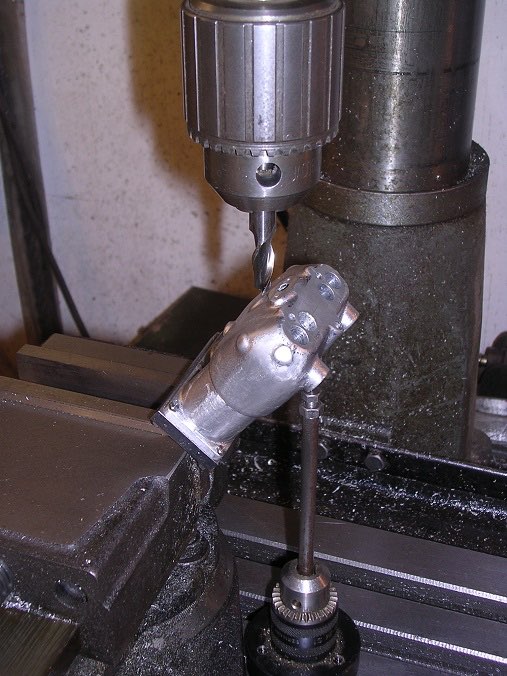
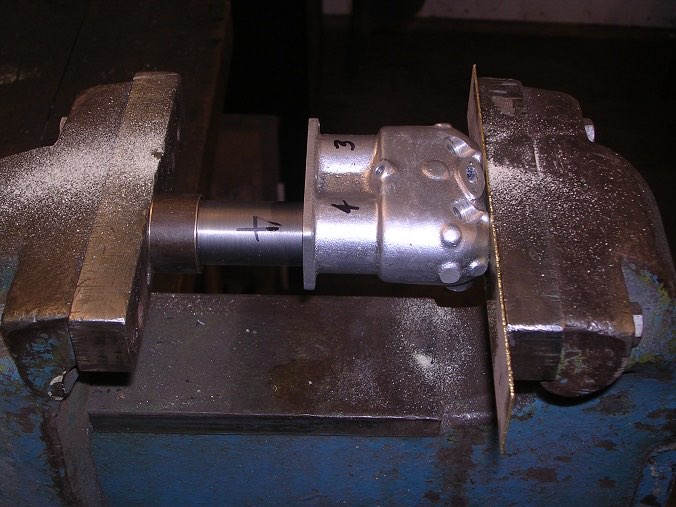
After trying to win some height with a collet chuck, I gave up and set the mounting plate in the machine vice. It did the job but setting the angles was a lot more challenging. I put a dummy scriber in the chuck, picked up off the centre line of the block and then indexed across, remembering to lift the scriber before winding!
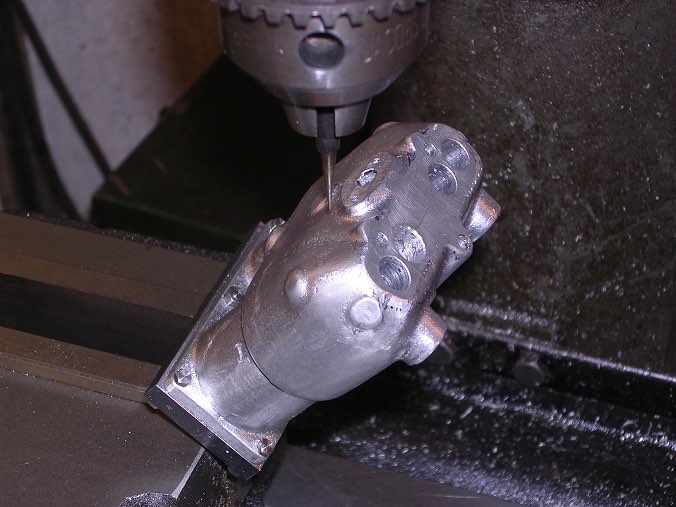
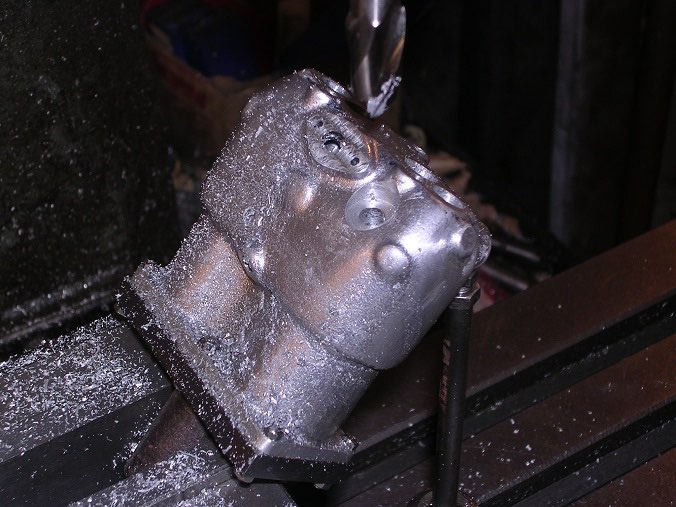
Made up a prop using a bit of rod with a bolt in the end to help stop it moving and then started off with a small slot drill to give myself a flat surface. A centre drill followed by pilot and tapping sizes were fine.
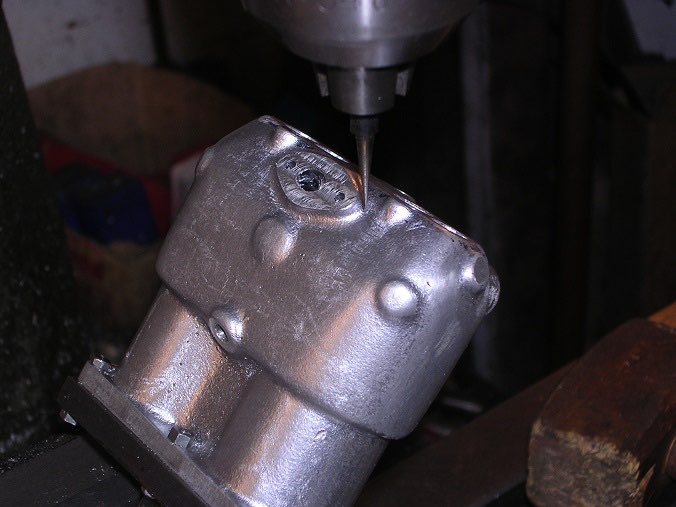
Finally a full-size spot-face.
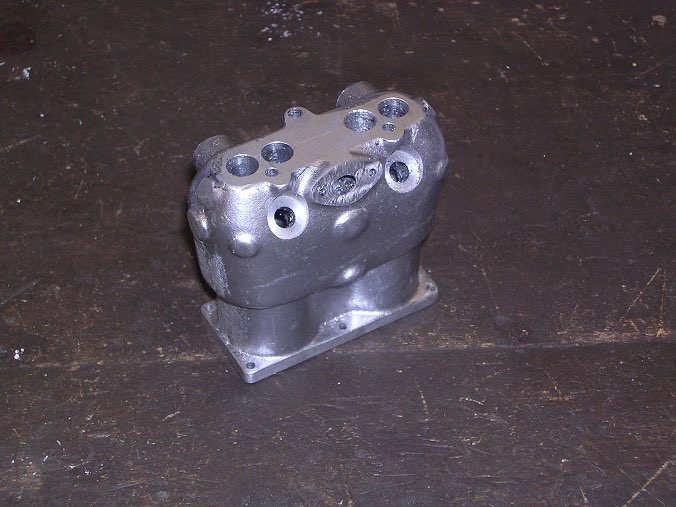
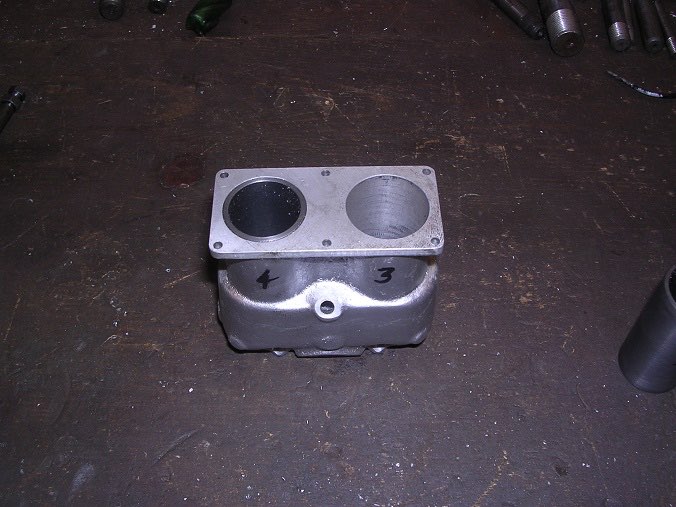
Then index across and both were done. They even came out the other side in the right place!
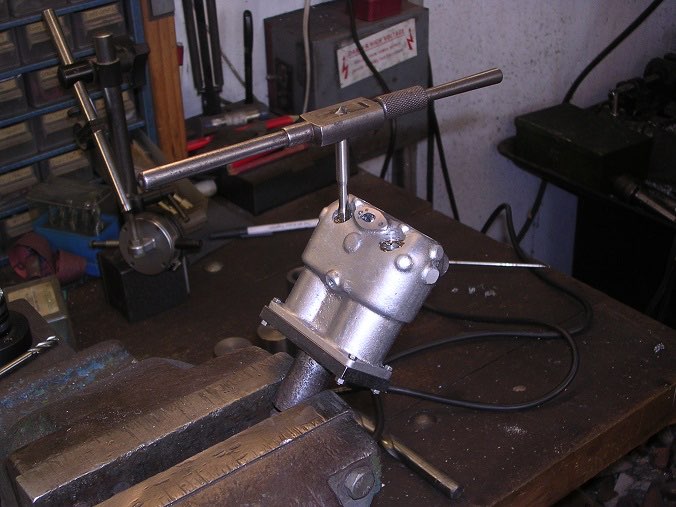
For tapping the spark plug holes, I used my mounting plate to get the holes vertical and hold the block securely and, for anyone else contemplating this engine, I would say that the time spent making it was well worth it.
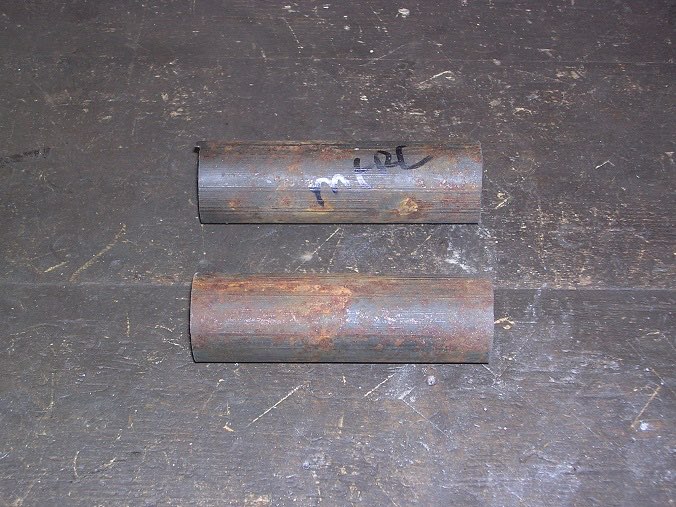
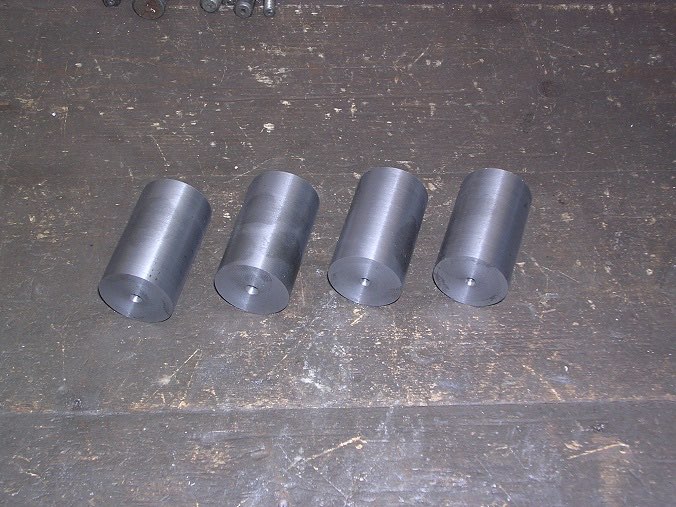
Then it was onto the liners. A very nice piece of cast iron is included in the kit.
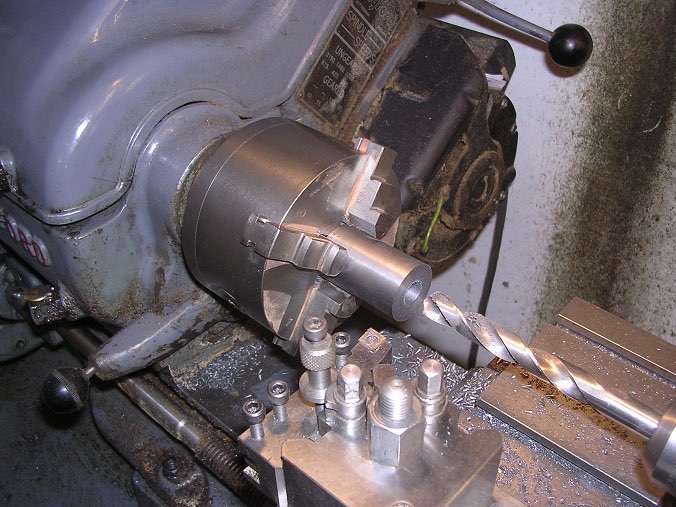
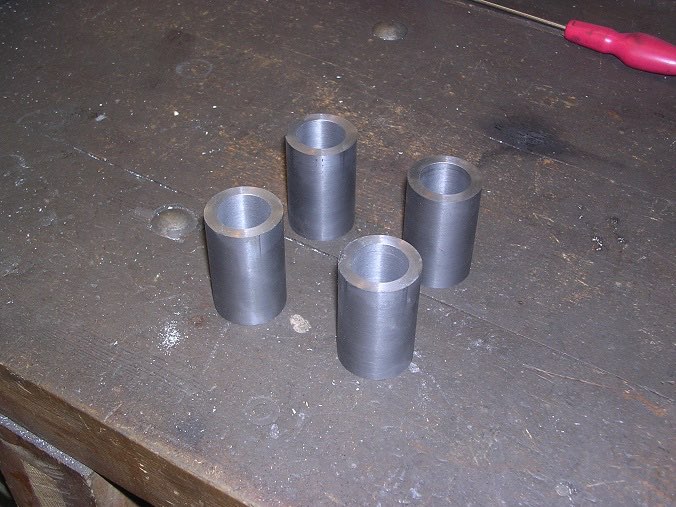
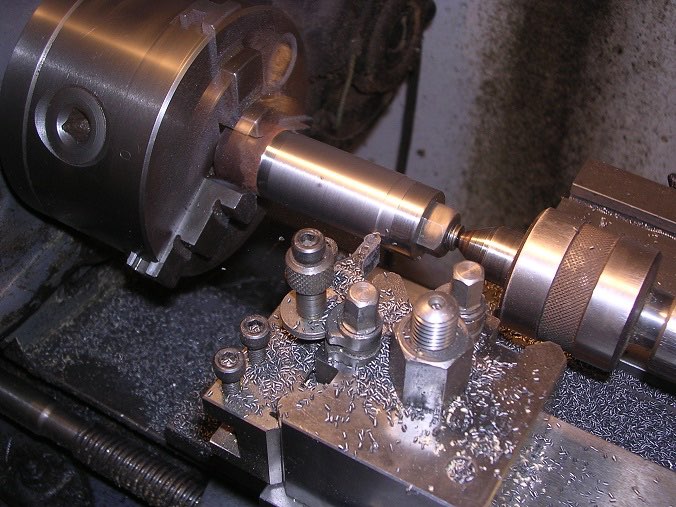
Then it was a case of rough turn the outside before holding in my self-centring four-jaw and boring and turning to size. I used the four jaw as it doesn't get a lot of use and is still unworn. It also has a larger through-hole so I could bore without risk to the chuck!
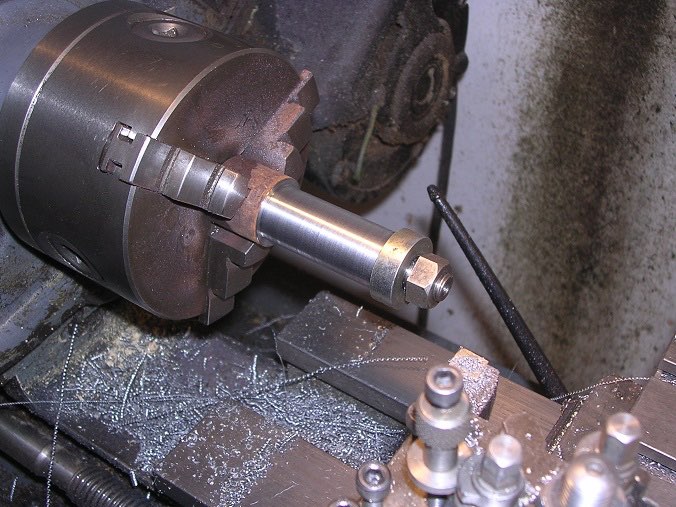
I made up a mandrel from a nice piece of free-cutting steel before turning the liners to size.
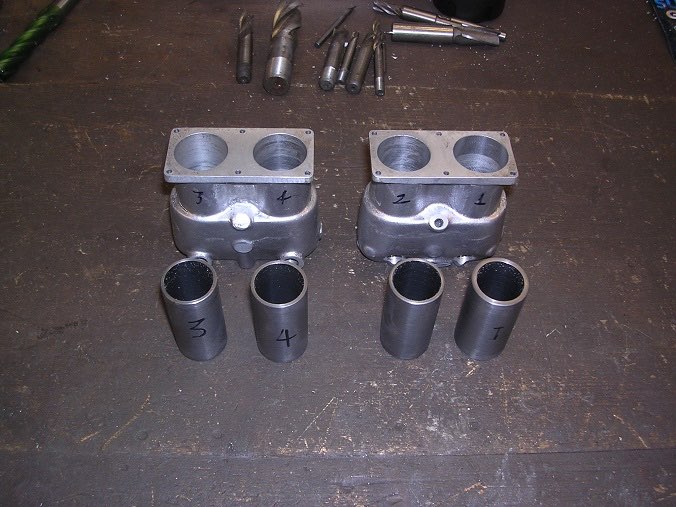
I did remember that I had over-bored one cylinder so I started with that one, just in case. In fact I got them all right first time but that was luck! I gave them all an interference of 0.001"
Then it was just a case of pressing them home.
Part four here