BUILDING A TIGER TANK
Part 25 by Vince Cutajar


BUILDING A TIGER TANK
Part 25 by Vince Cutajar

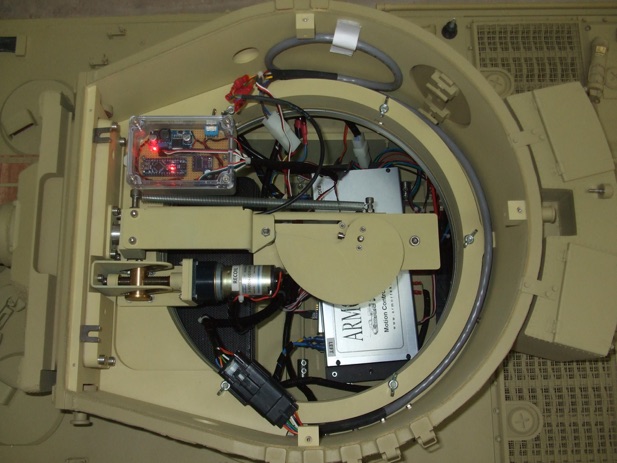
I became convinced that the elevation motor with a 18:1 gearbox was too fast. Unlike the turret turn, the elevation channel does not have proportional control. So it's either On or Off and the speed cannot be controlled.
The first thought was to fit an extra Viper module (ESC) like the turret turn. Next option was to use one of those cheap PWM speed controllers one finds on eBay. Sounds like a good idea and doable. Then I remembered I had the original recoil motor which is unused. It is a similar motor but having a gearbox with a higher ratio (60:1). Quick swap of motors and test.
I finalized the position of the Arduino recoil box and also the turret wiring sub-loom. Even put the LEDs in the barrel. Managed to find the turret wing nuts and bolted them on and fitted the roof.
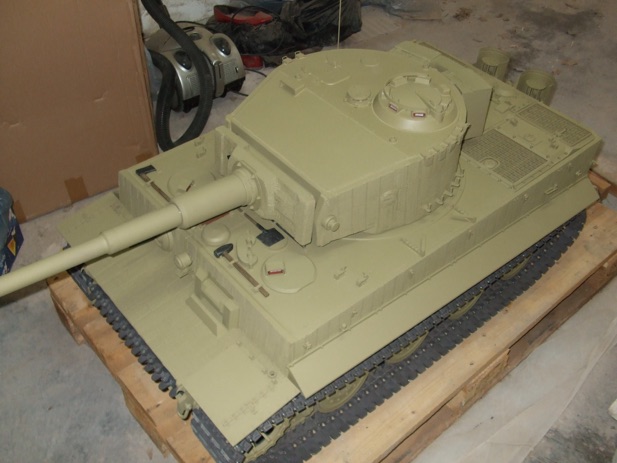
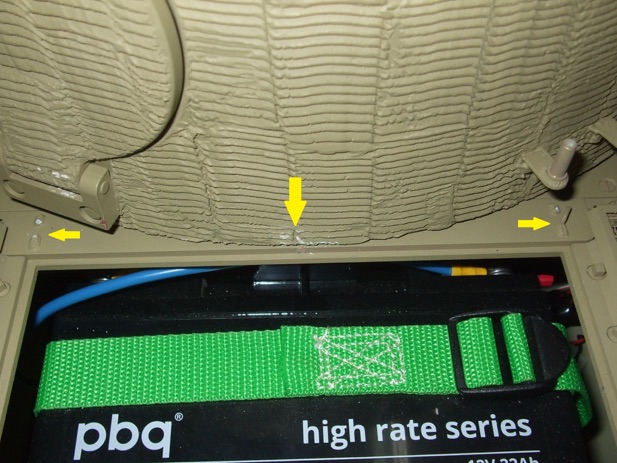
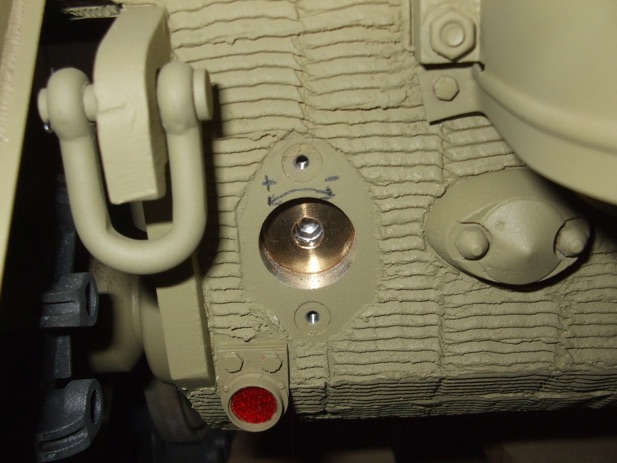
This is where I found that I couldn't open the engine hatch as it was hitting the zimmeritt of the turret. I also noticed that the two tie-downs I had fitted in front of the engine hatch had broken off. Must have broken them off during the turret turn trials.
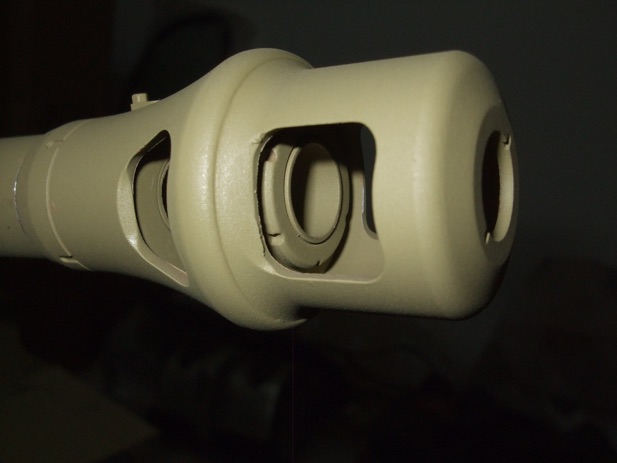
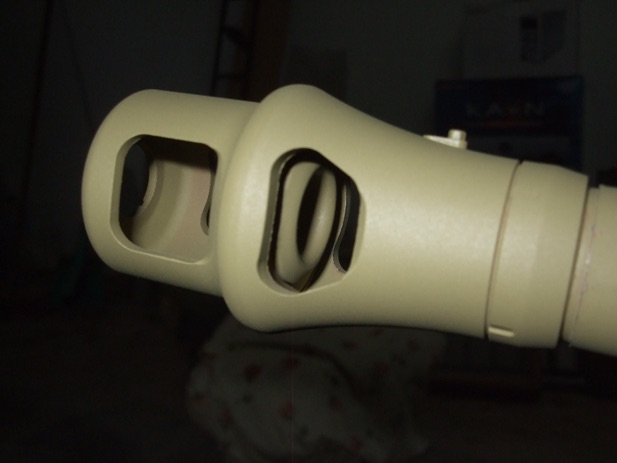
I got myself an airbrush kit, hooked it up to my workshop compressor and, after practice, I decided to test the three colours together to see if I need to change them. Luckily I kept the steel plate I had used to practice applying zim and had sprayed it with the basecoat. So all I needed to do was apply the other two colours as a test.







Modelengineeringwebsite.com
the only free and the only weekly magazine for model engineers.
Editor: David Carpenter