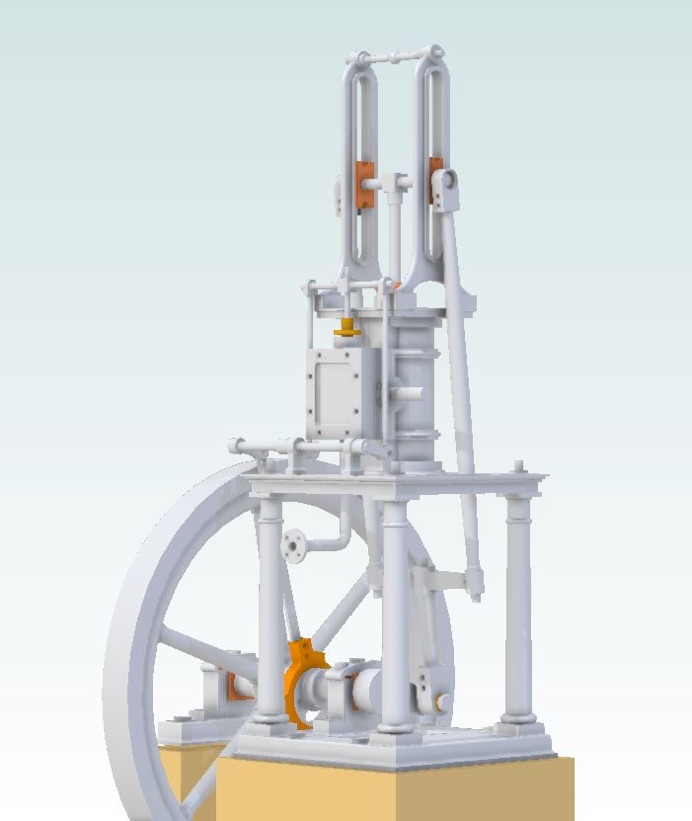
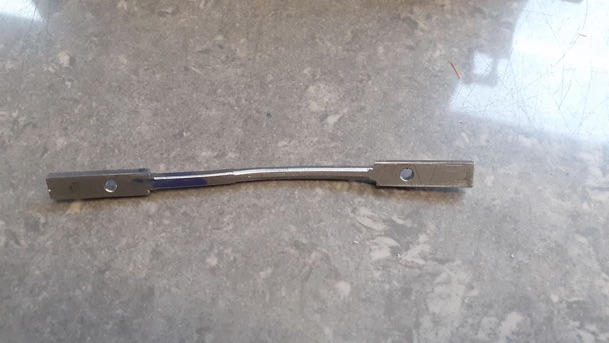
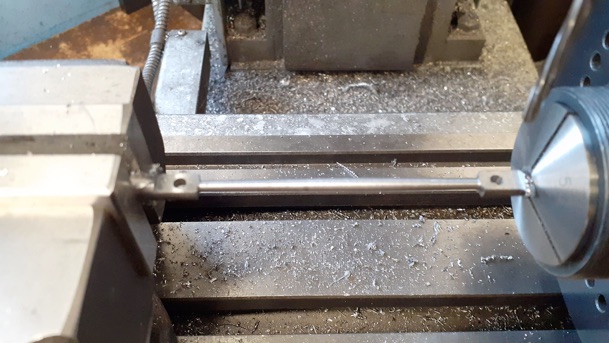
Working up the engine the next parts of the valve train were the two vertical lifting links, I cut and milled some 6mm wide strips from 3mm sheet and after drilling and reaming the ends set to machining them between centres but did not get that far on the first one!
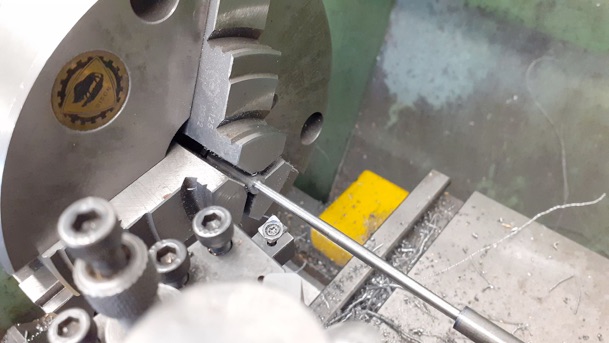
Changing tactics I cut two pieces of EN1A round bar and did the turning first driving with one end in the chuck and the other end supported by the tailstock. A 0.8mm radius tip was used to leave a small fillet at the ends of the taper which was turned with the cross slide set over and then all blended into a fish belly shape.
Then over to the mill to machine flats at the ends before drilling and reaming 3mm; the waste material at the ends was sawn off and then the rods rounded over in the same way as the conrod was done earlier.
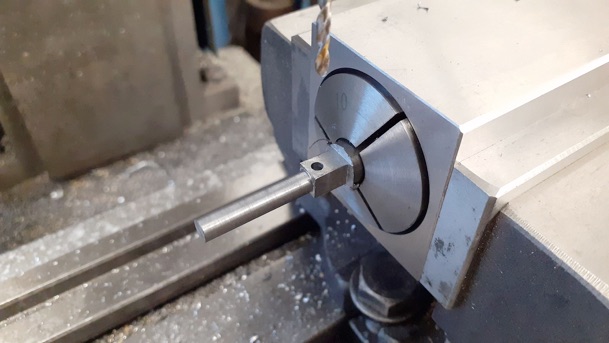
Rather than be stuck with Stuart’s half turn of the valve rod to make adjustments I decided to put a hole right through the yoke and retain the rod with a nut top and bottom that way I can get infinite adjustment of the valve nut's position simply by rotating the rod. Here I have part turned one side then, with it held in the indexer, a square has been milled and cross drilled.
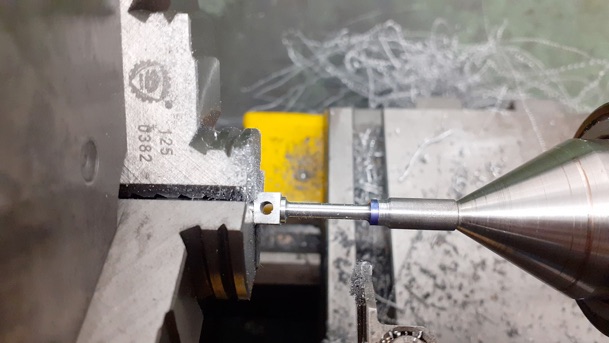
This shot shows a final bit of decorative turning being done, the ends have been reduced to 3mm and threaded and I have slipped a short length of rod over the threaded spigot so that I can use the tailstock for support without the need for a centre hole.
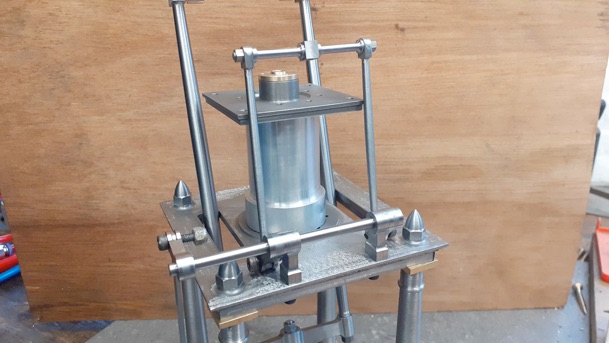
And this is the bits roughly assembled
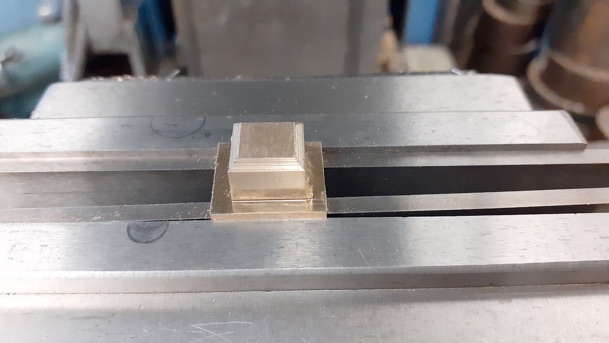
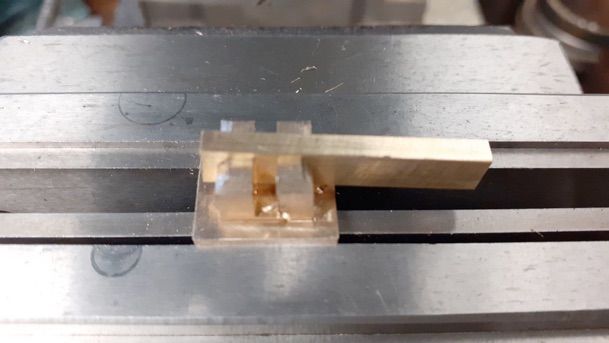
A small offcut of bronze was milled down to the overall sizes of the valve and the upper porting reduced in size all round and I also chamfered the top corner to allow a bit easier air flow
While still in this position the slot for the rod was cut and then the one for the nut opening up the initial 2.5mm wide cut until the nut material was a free but snug fit in the slot
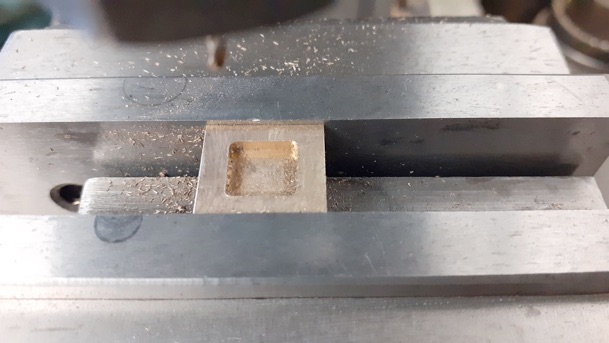
Finally a 2mm cutter used to form the cavity in its underside.
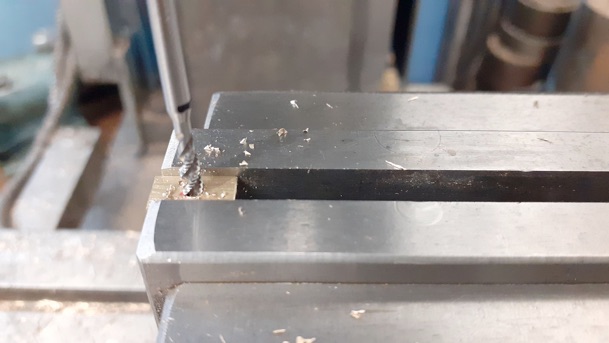
Not much to say about the nut except it was milled down to 6mm x 3mm section, milled to length and then drilled and tapped M2.5, guiding the tap to ensure the tapped hole was true and vertical.
.Part one here Part two Part three Part four Part five Part six Part seven Part eight