I made and tested an extended 5.5 slot drill. Used a piece of 10mm silver steel, drilled and reamed 6mm (for the slot drill shaft), cleaned the bore and slot drill shaft with surgical spirit and superglued the slot drill in the shaft.
Tested on a piece of scrap mild steel, drilled a 3mm hole, drilled with a 5mm drill to a 2mm depth and then counterbored with the 5.5mm slot drill. I am happy to report that the extension worked and the glue held fast.
I made a similar extension for a centre drill.
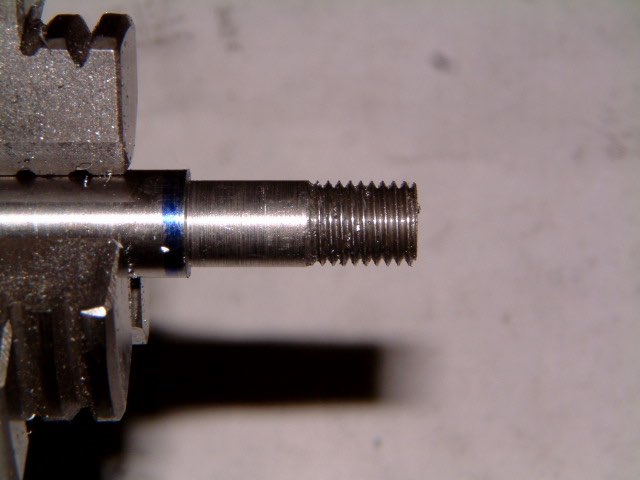
Marked for the holes in the balance weights with a transfer punch. Drilled and tapped the holes 3mm. Setup the crankshaft with the balance weights on the lathe (photo 2) to trim the sides of the balance weights and webs at the same time.
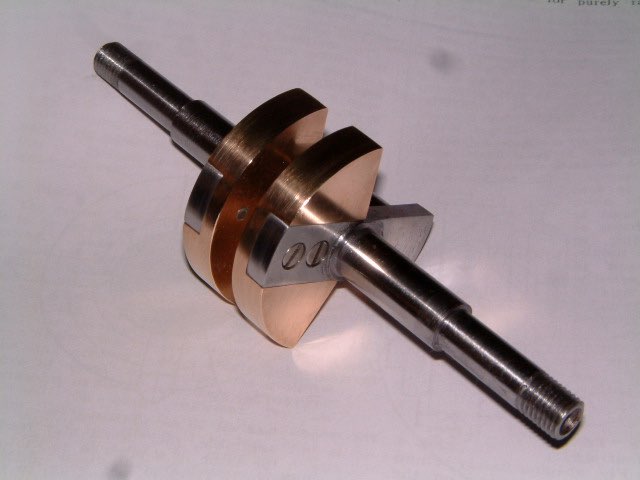
I finished cleaning up the crankshaft and balance weights and polished the journals. Oiled the journals, put the crank in the crankcase, and gave it a 15 minute run in the lathe. Turns nicely. My first crankshaft is finished. Twenty-two days to make!
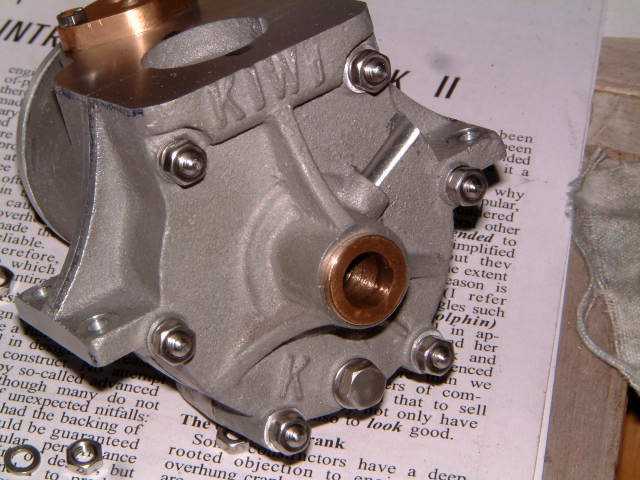
Fitted threaded studs to the crankcase.
Next I took the cast iron that came with the kit for the cylinder liner and I roughed the OD to remove the hard surface. Westbury recommends doing this and then letting it rest for a while to remove internal stresses. I did this using an insert tool to get through the hard surface. Strangely enough, the surface did not seem that hard.
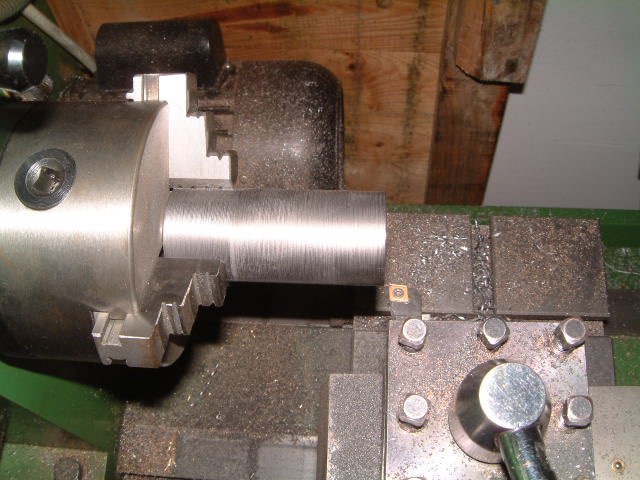
Started work on the flywheel. I won't be following Westbury's instructions on making the flywheel so we will see how it goes. Used the bar stock that came with the kit, chucked it in the lathe, and faced one side. Then I drilled a shallow hole and opened up progressively with slot drills to 15mm and a depth of 11mm. Using a boring bar continued to open up the hole to 1.5" and a depth of 11.1mm. This should be the rear side of the flywheel.
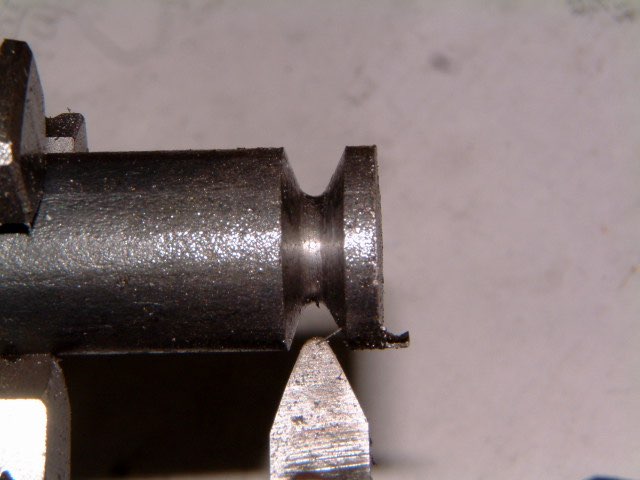
Cleaned up the rear end of the flywheel (photo 1). I was then going to start the front end of the flywheel but then realized that I had never cut a V-groove for a pulley.
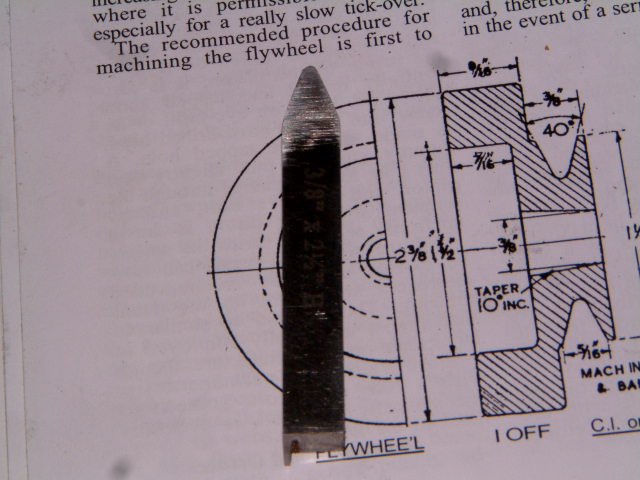
After a bit of head scratching I decided that a lathe tool had to be ground from HSS. Marked the angles on a 3/8" HSS bar I had (photo 2).
I gave it a try on a piece of mild steel. I kept the tool a bit below centre line in the hope of avoiding a dig in. The trial run was satisfactory.
I chucked up the flywheel and rough machined the front and also the diameter. Left all dimensions about 1mm larger.
I then turned a piece of 10mm silver steel to 8mm and threaded the end 8mm fine. This is going to be a mandrel on which to hold the flywheel for further machining.
I then chucked the flywheel again with the rear facing out and checked if it was running true. Satisfied that it was running true, I drilled a 10mm hole and machined the taper. The tapered collet will be machined to the same setting.
Part one part two part three part four part five part six part seven part eight part nine 10 11 12 13 14 15 16 17 18 19 20 21 22 23 24 25 26 27