1909 MERCEDES

AERO ENGINE BUILD

Part ten by Steve Gosling

...continued from part nine


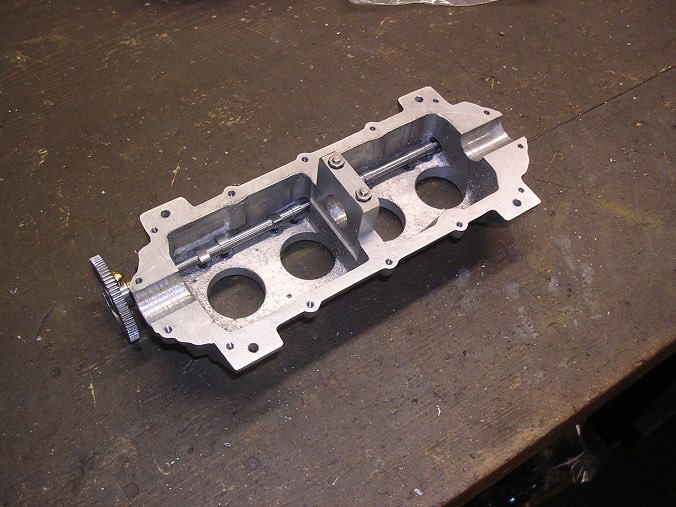
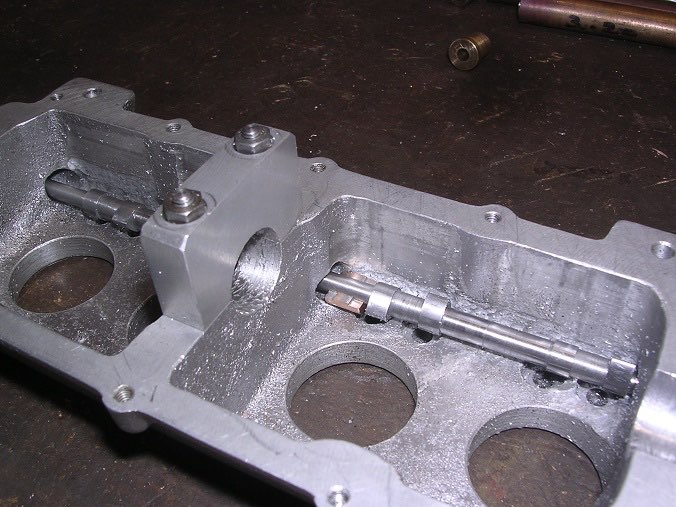
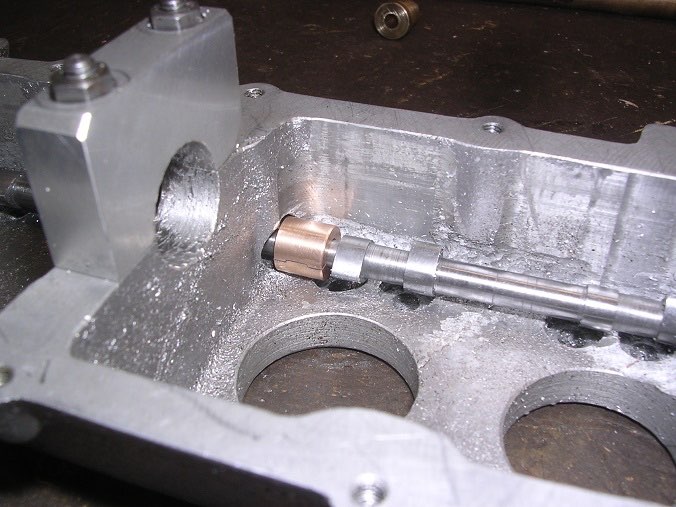
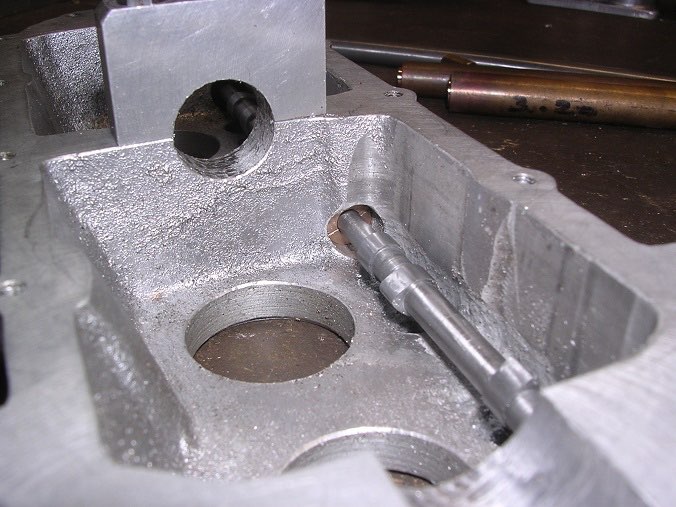
I made a couple of temporary camshaft bushes to try the installation.
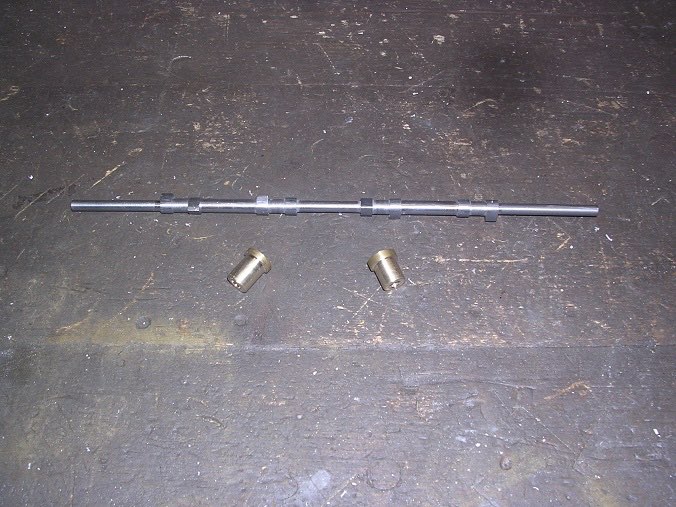
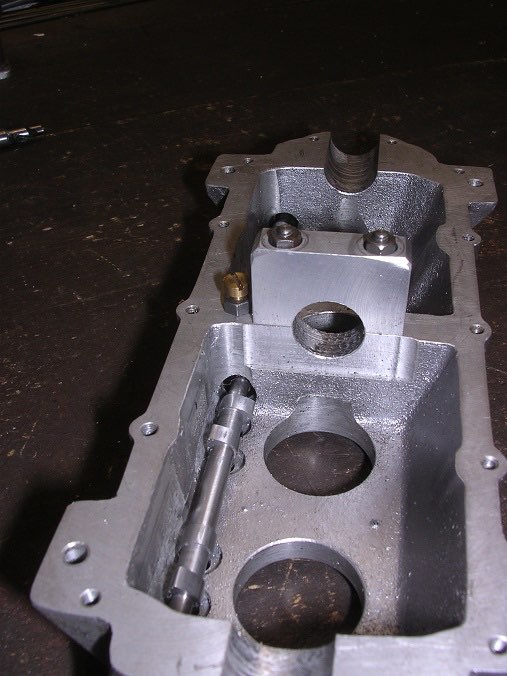
The shaft wangled in okay but the cams actually fouled the inside of the crank case. More work with the Dremel sorted that.
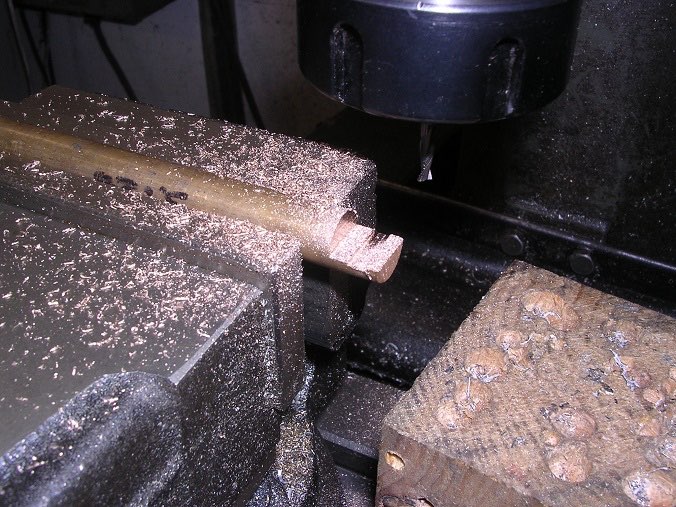
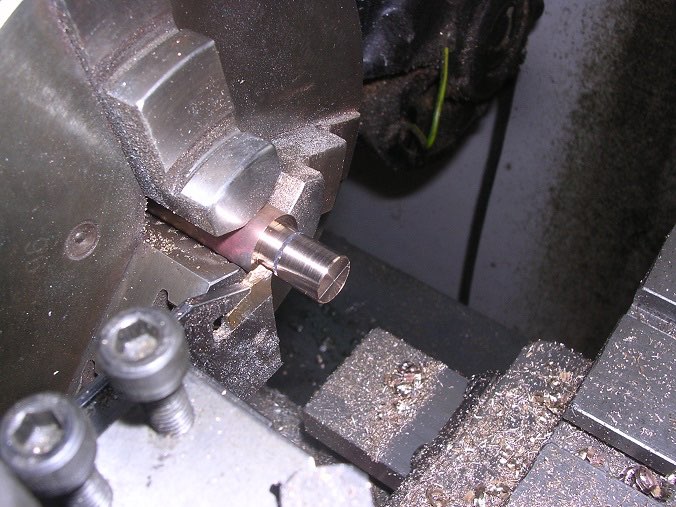
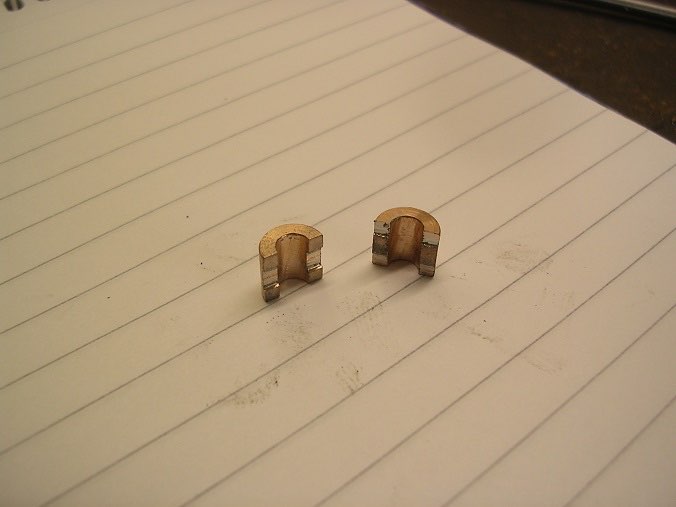
Next challenge was the centre bearing as I needed this to see how true the holes are. As I had made the camshaft in one piece (the drawings show a Loctited assembly) the bearing must be split. However, it has no flange to retain it so I was concerned that one half might walk out in use. I have, therefore, keyed the two halves together. I cut a bit of bronze to the centre line and then a 0.015" deep key slot across the middle.
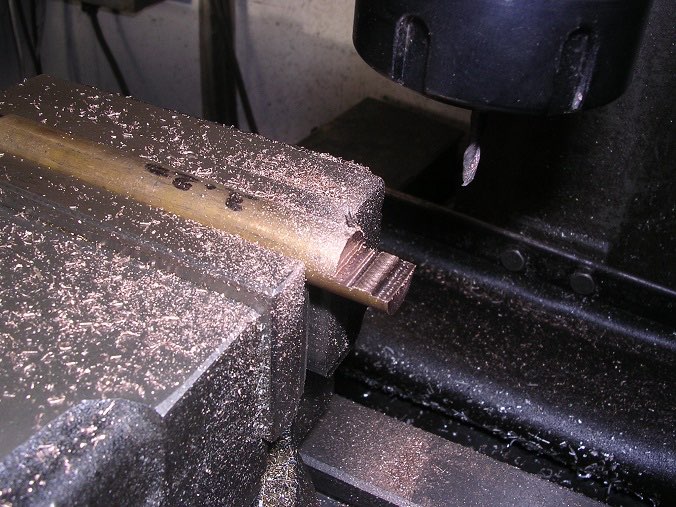
I did the same for the other half but raised it in the middle instead.
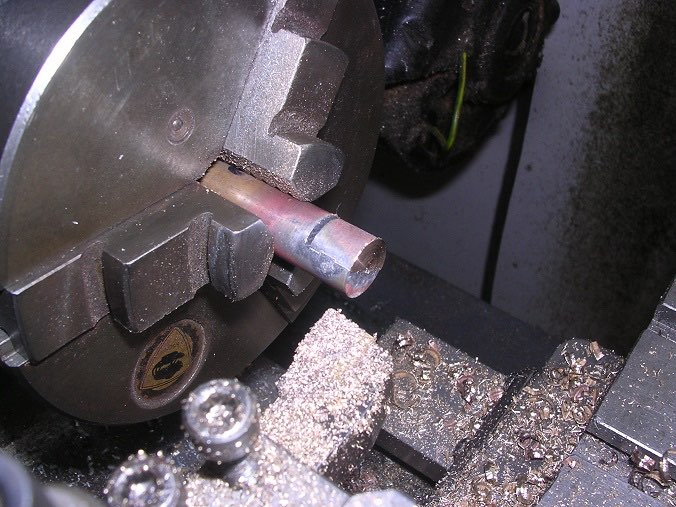
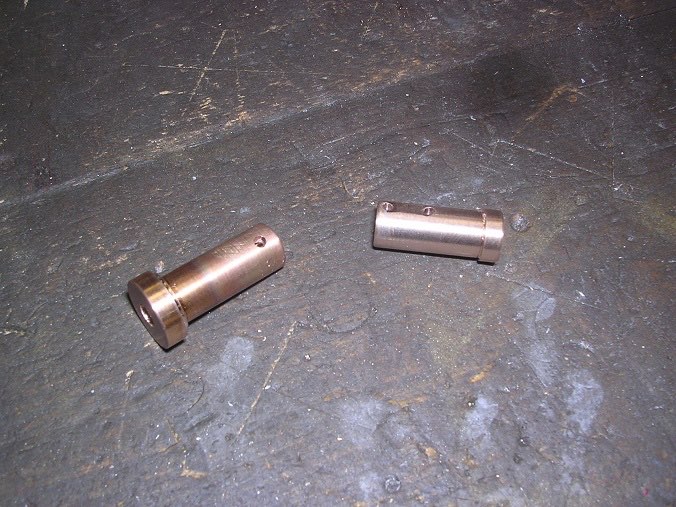
These were soft-soldered together and then turned to size.
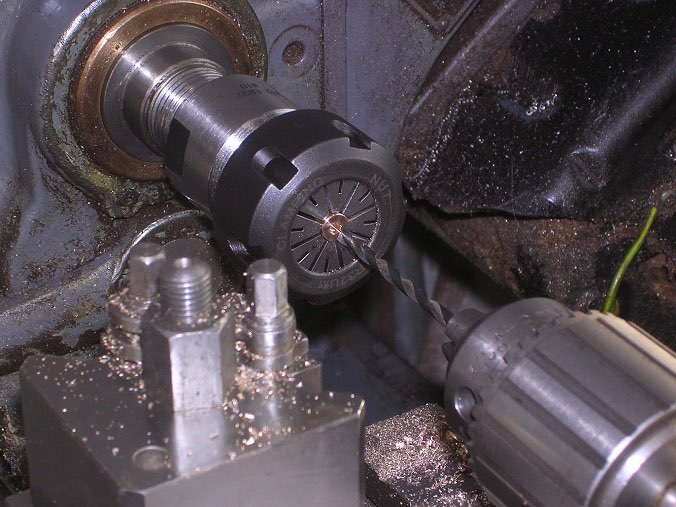
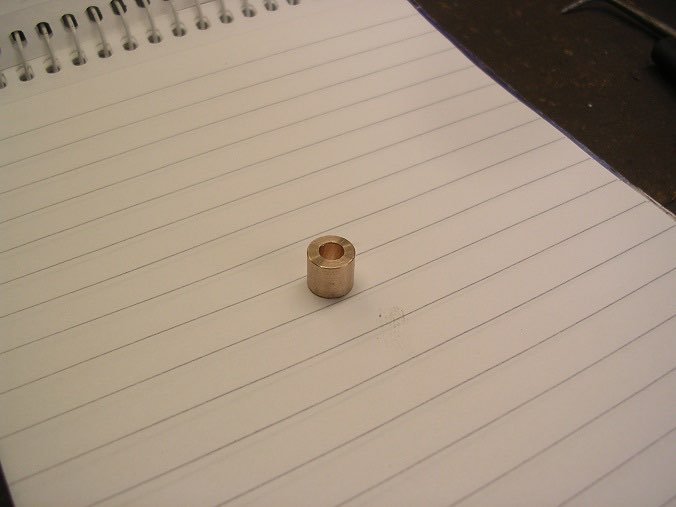
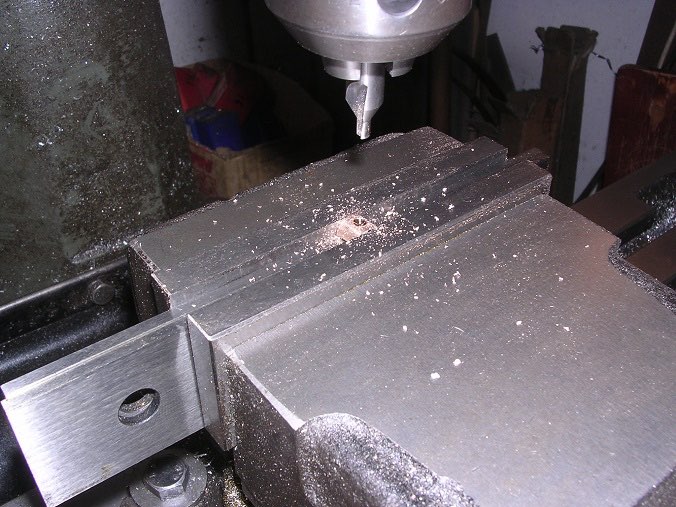
I drilled the hole, holding the bush in the collet chuck so that I would't burst the joint.
Warm it up to melt the solder and bingo!
Now a trial fit.
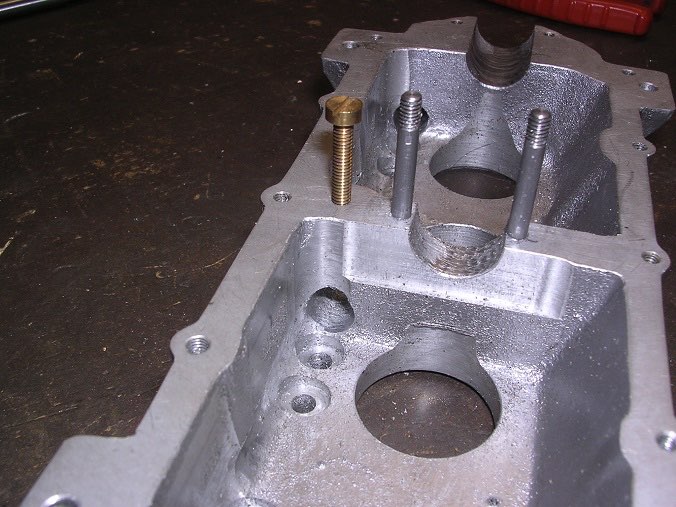
I was pleased with the result but as it could only be a push fit, I was concerned that it would walk out of position again. I, therefore, dimpled the bush and added a locking screw.
Now I had the problem that if I screwed it tight enough to stay in place, the bearing binds. I added a locknut to keep it in place.
I also turned up the final camshaft end bushings.

Part 11 here.

 
https://www.sarikhobbies.com/model-engineer-builder/

Modelengineeringwebsite.com

the only free and the only weekly magazine for model engineers. 

Editor: David Carpenter