...Continued from part 10.
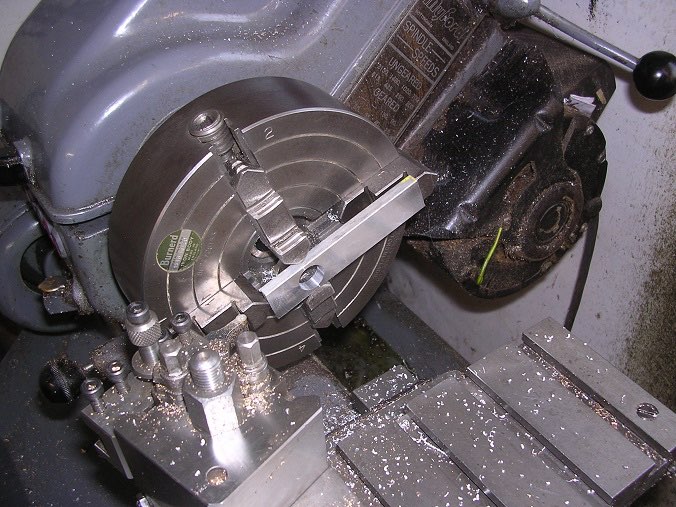
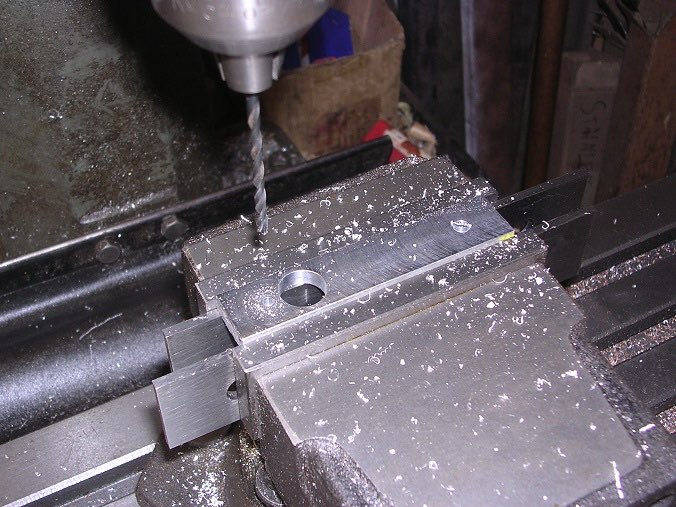
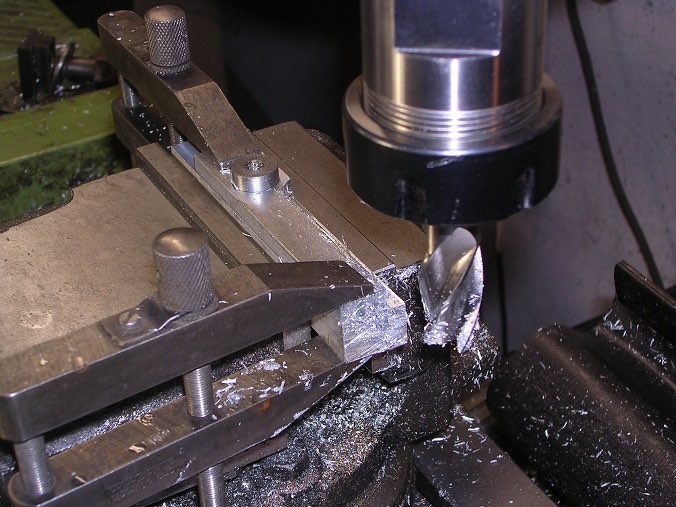
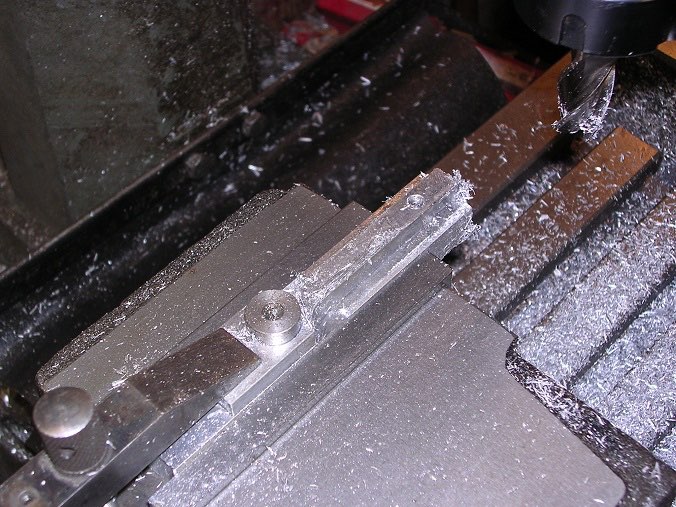
I next made a start on the connecting rods. The drawings specify 'Dural' and I managed to obtain some 2014/HE15 which my supplier recommended. The first challenge was how to hold and machine the things and I did spend a long time puzzling. When in doubt, start with some datum holes!
I took a skim off the face as well so that everything was flat and square.
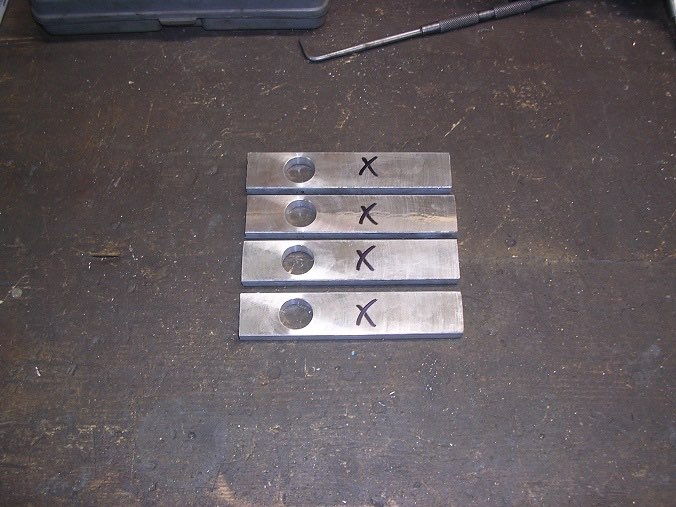
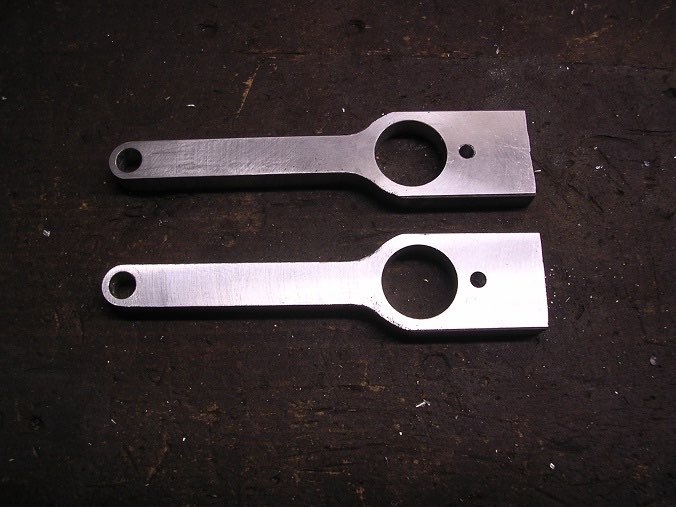
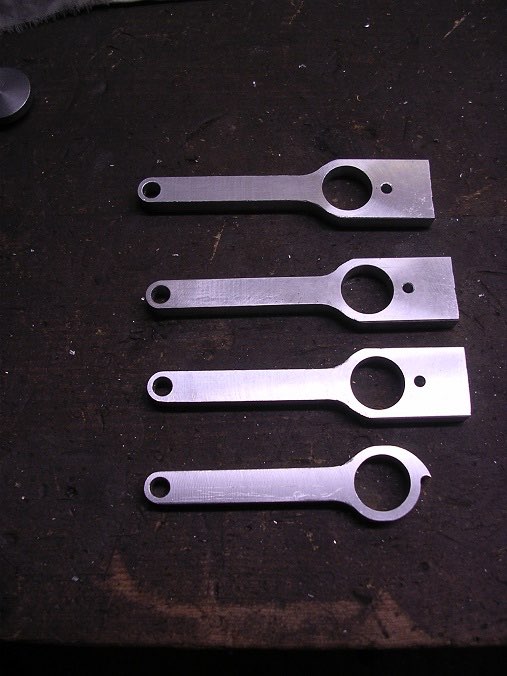
I turned them over, skimmed to thickness and positioned the other holes using the leadscrew dials to get the right pitch.
I turned them over, skimmed to thickness and positioned the other holes using the leadscrew dials to get the right pitch.
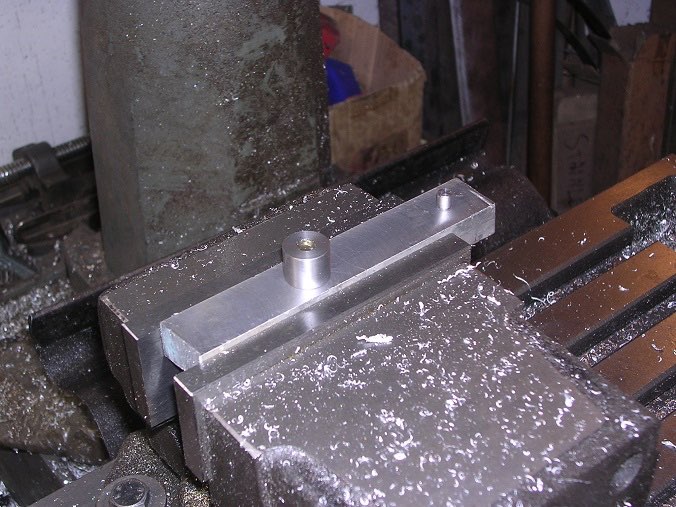
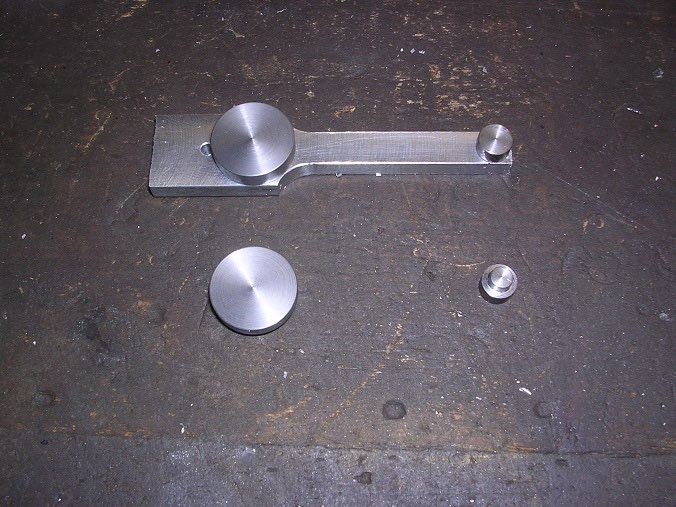
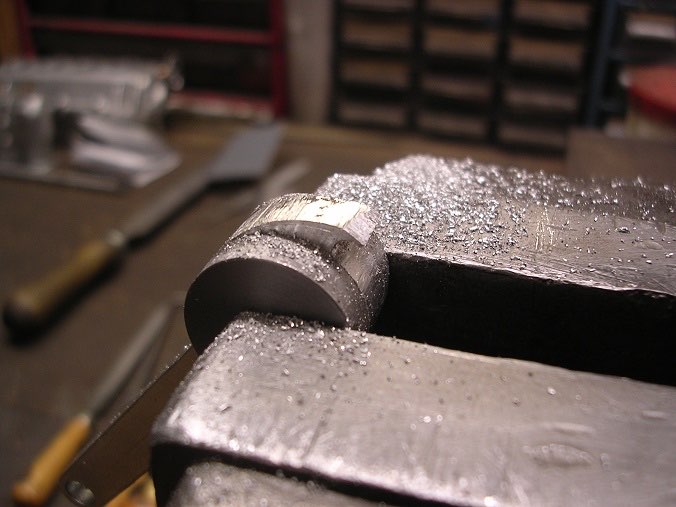
Now it is just a filing job. I turned up some buttons for guidance and away I went.
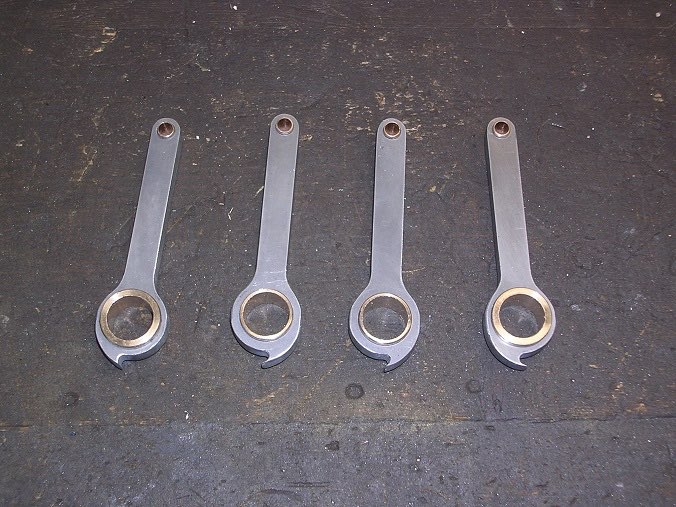
The fun bit now is the dipper to pick up the oil.
Big end and little end bushes added.
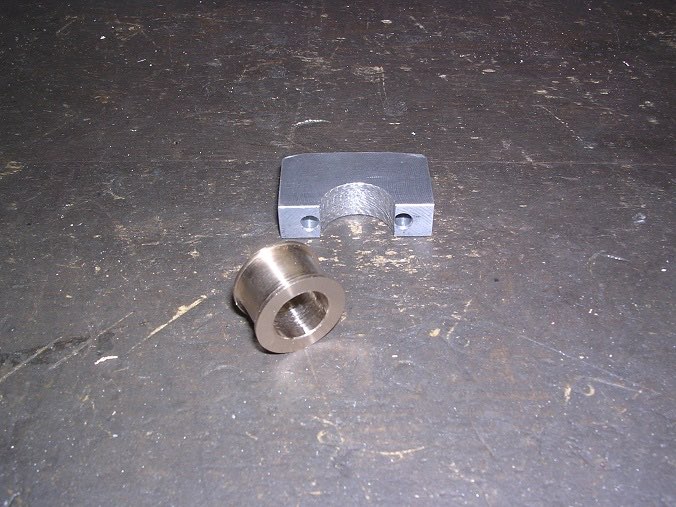
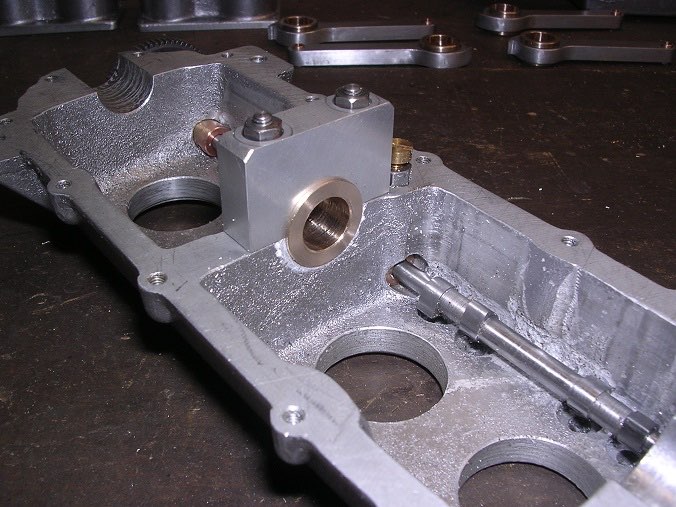
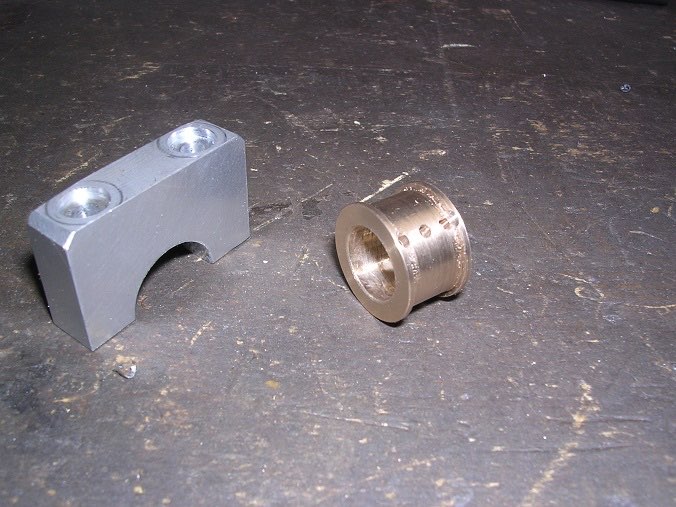
Centre bearing bush. This is drawn plain but again, there is no way of retaining it. I reckon there is enough space for flanges on each end so I have made it thus.
The end bearing carries a thrust face to carry the airscrew axial load. I have deliberately left it over-thickness so I can adjust it on assembly.
I drilled three holes in the centre bush. The two end ones are for oil and the centre to engage with a peg in the crank case to prevent it from rotating.
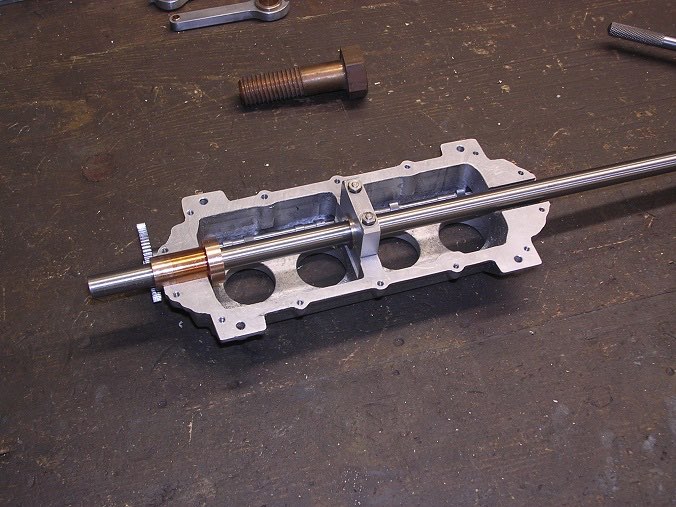
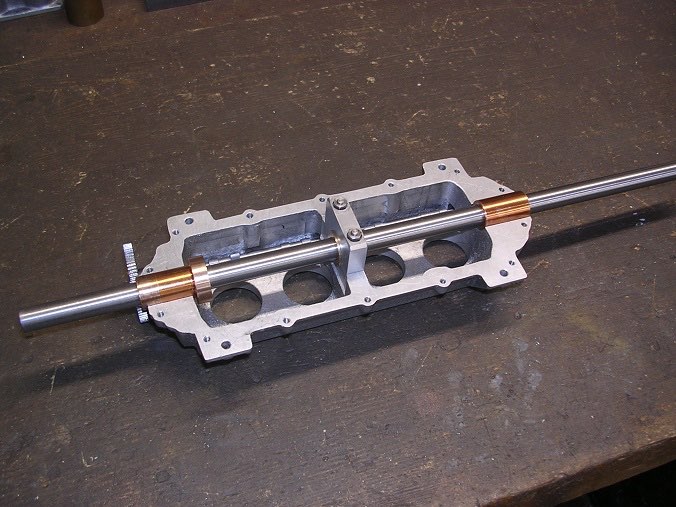
All three bearings in and the bar turns sweetly.
Continued in part 12.