BUILDING A TIGER TANK

Part 27 by Vince Cutajar

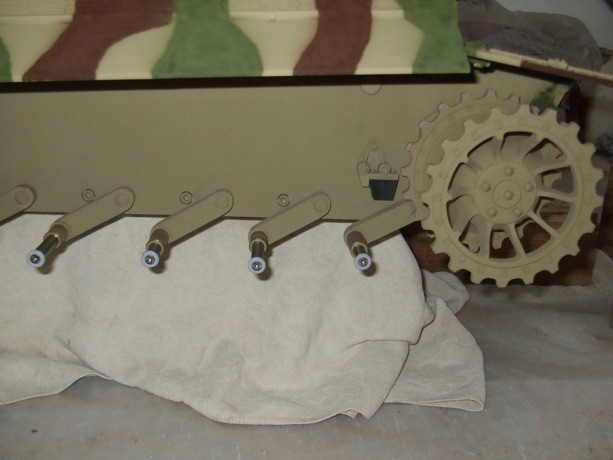
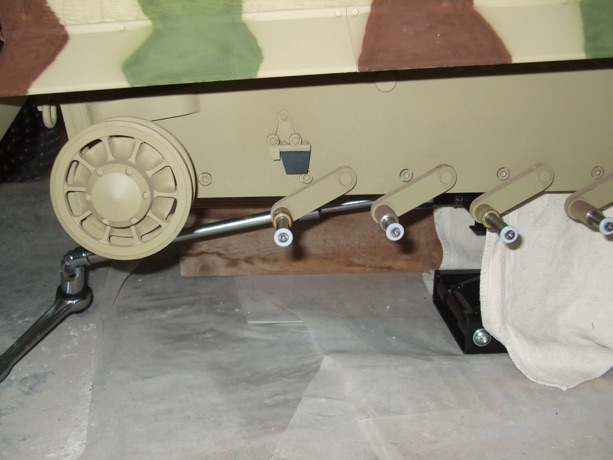
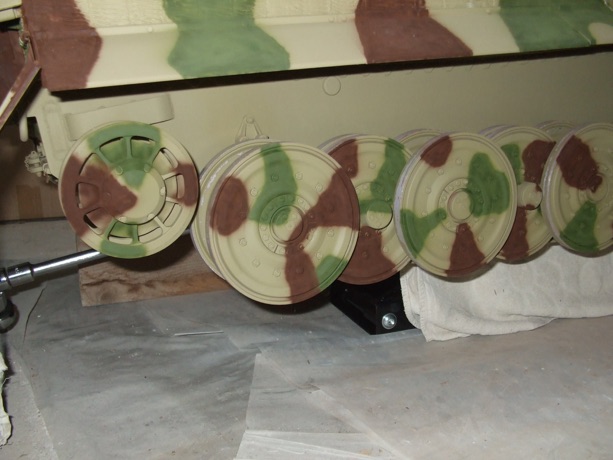
Decided to apply the camo to the road wheels. To do a proper job I needed to take the tracks and wheels off. To do that, I needed to jack it up, and managed to find one of those small motorcycle jacks.
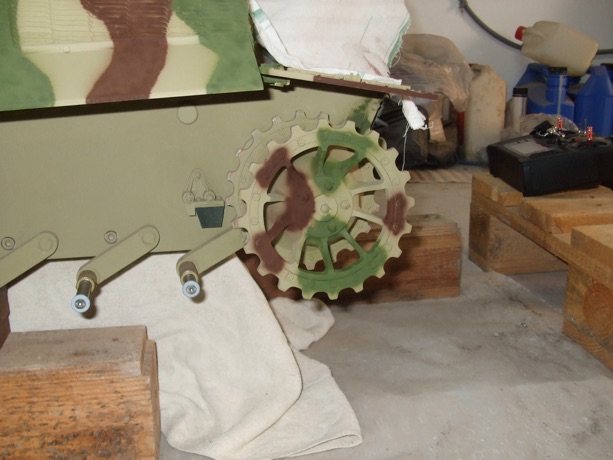
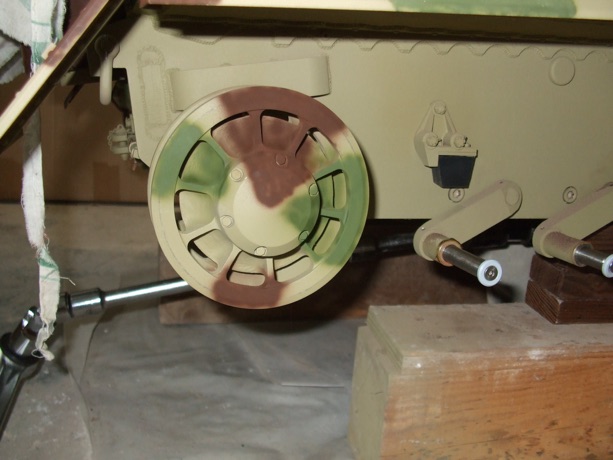
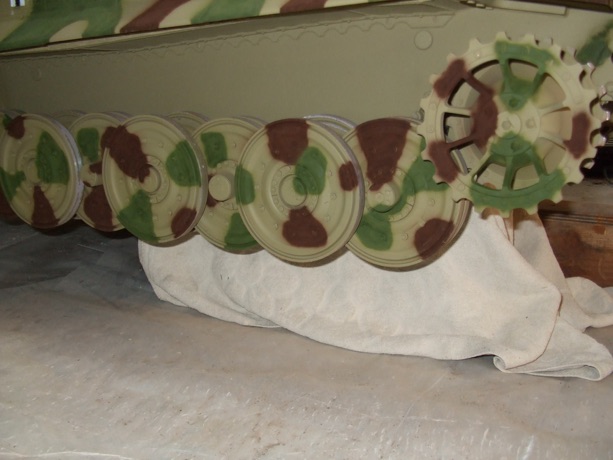
This gave me the chance to have a good look at the condition of the wheels, idlers, sprockets, swing arms, hull sides and home-made bump stops and then  to paint the wheels, idlers and sprockets.

First thing I did as soon as the model was jacked up and tracks removed was to test the failsafe for peace of mind.

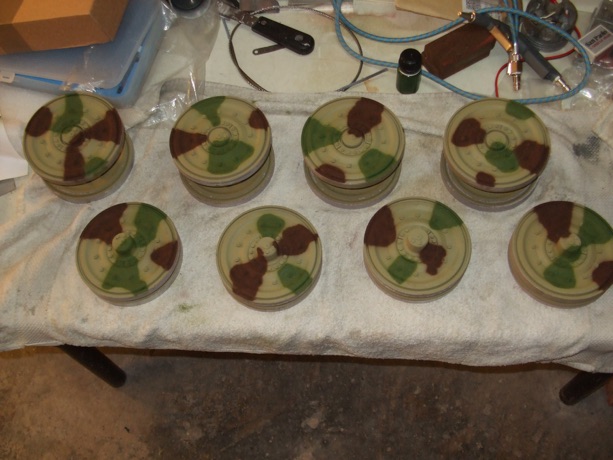
Painted the road wheels on the workshop table.
The sprockets and idlers I left in place and all four painted in situ.
Road wheels re-attached to the model.
I'm calling it done! My 2017 late Tiger 1 is finished (for now). It is loosely depicting a fictitious June 1944 model that was recently delivered in Normandy and freshly field painted. Used the Tiger 231 that the Munster museum had for inspiration.

There were ups and downs during the build but in general it was a fun build for me. I was fortunate to have the tools to do the alterations/modifications that I did. The highlights for me were probably the new basic skills that I acquired, namely:

  1. Using an airbrush.

  2. Using an Arduino.

  3. Using a stepper motor.

  4. Using a radio controls system.

  5. All the above were all new to me.


https://www.sarikhobbies.com/model-engineer-builder/

Modelengineeringwebsite.com

the only free and the only weekly magazine for model engineers. 

Editor: David Carpenter