USS MONITOR
ENGINE BUILD
Part 15 by Vince Cutajar



USS MONITOR
ENGINE BUILD
Part 15 by Vince Cutajar
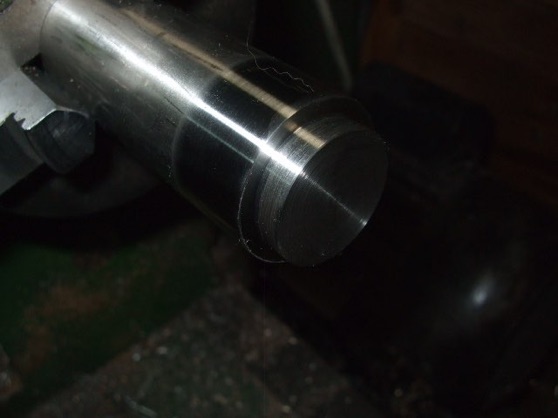
Then using various slot drills and the lathe on its slowest speed, I cut a 14mm hole.
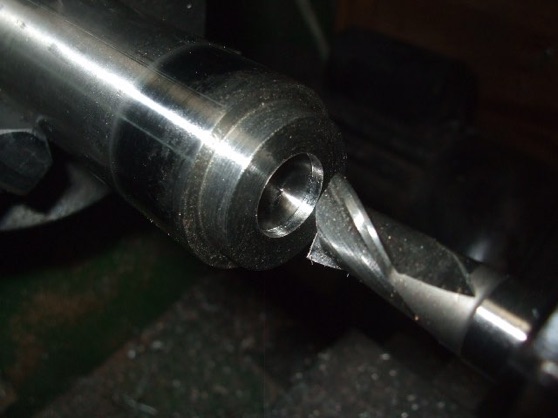
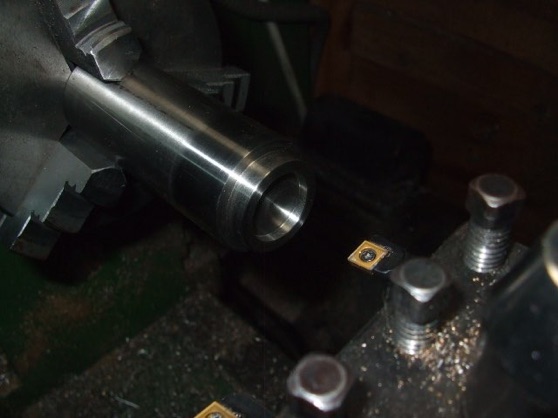
Then using a boring bar I opened up the hole to 19mm and 3mm deep. The rear part I did yesterday will fit into this hole.
Eccentric strap used for a trial fit.
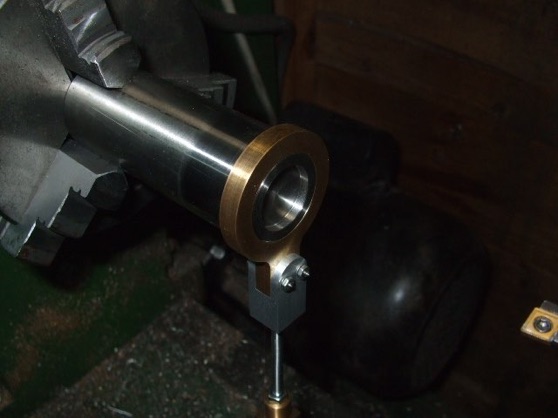
And the rear part also inserted.
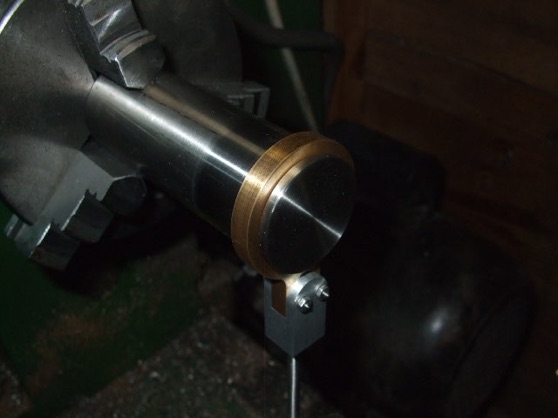
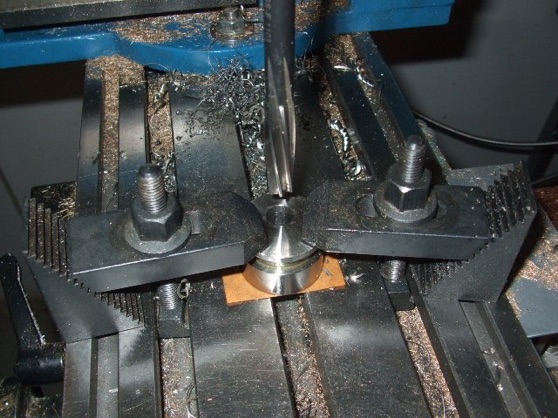
Drilled and reamed the 10mm hole with a 4mm offset from the centre.
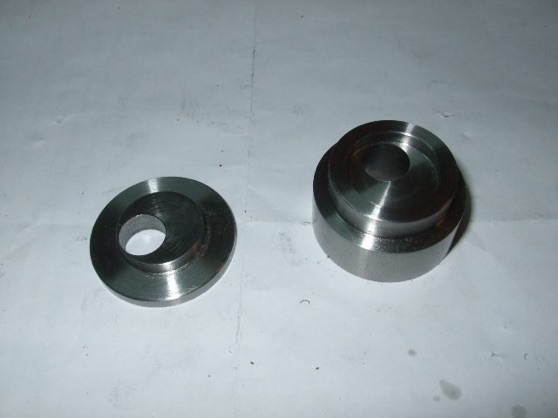
More work on the eccentric sheaves.
With the help of a 10 mm rod in the tailstock I put the sheave in the 4 jaw chuck and carefully tightened the jaws.
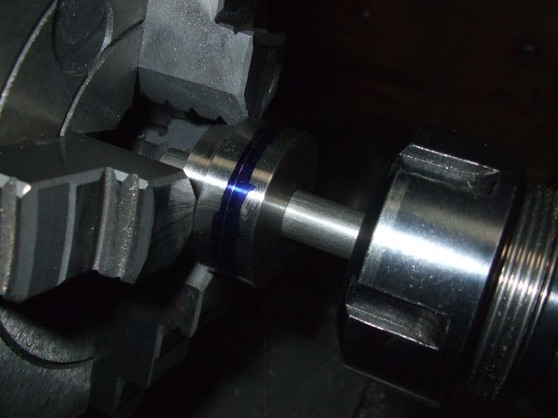
Made a quick check on runout. Showing 0.1mm. Good enough for me as the next operation does not require lots of accuracy.
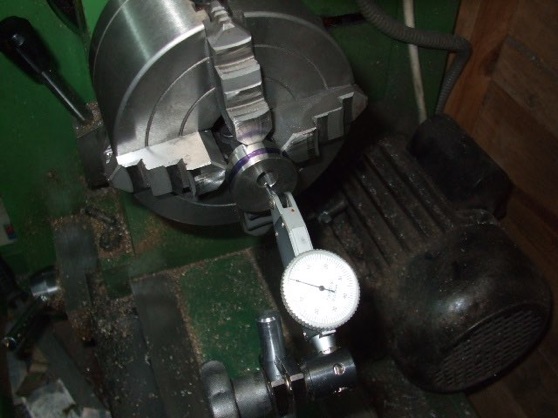
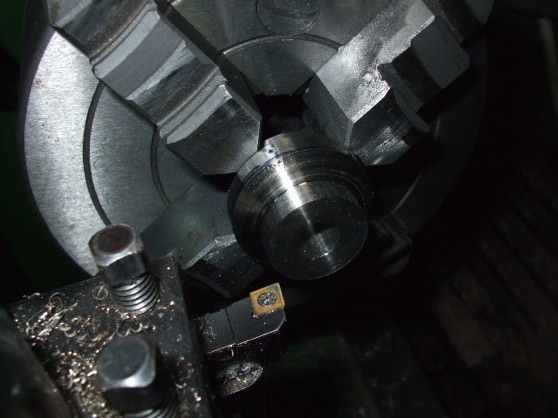
Started machining the shoulder around the 10mm hole.
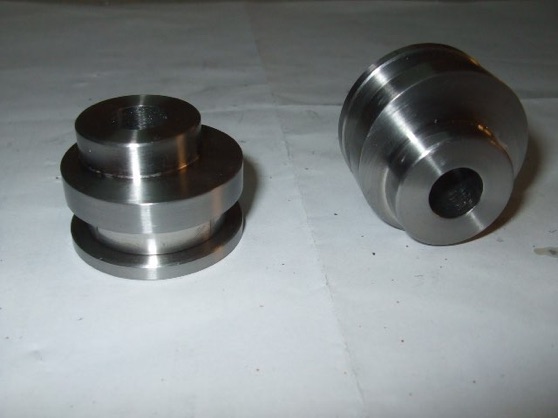
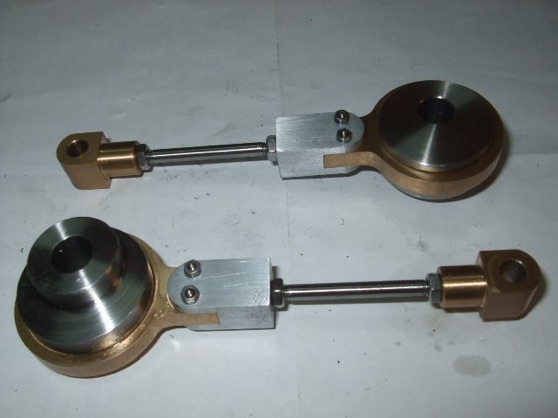
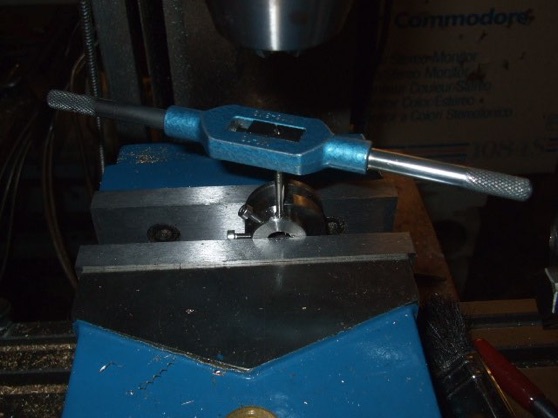
I took the dividing head out to drill the holes for the grub screws. Drilled the first one and started tapping the holes. The taps were not cutting too well. I guess the material got work hardened when drilling and the taps are not sharp anymore because on the last hole I broke a tap. Disaster, as I could not get the broken part out.
After a siesta I went back to have another look at the situation. I could make a new part or use the one I had with two grub screws.
Eventually I found I had a small carbide burr with a taper shape. Let's give it a try. It actually worked as it started breaking up the broken tap in the hole. With a little patience and a hardened 2mm pin punch I managed to chip it all out.
With a new tap, did the three tapped holes on the second eccentric sheave. No problems encountered.
Part one here Part two Part three Part four Part five Part six Part seven Part eight Part nine Part 10 Part 11 Part 12 Part 13 Part 14 Part 15 Part 16 Part 17













Modelengineeringwebsite.com -
the only weekly magazine for model engineers